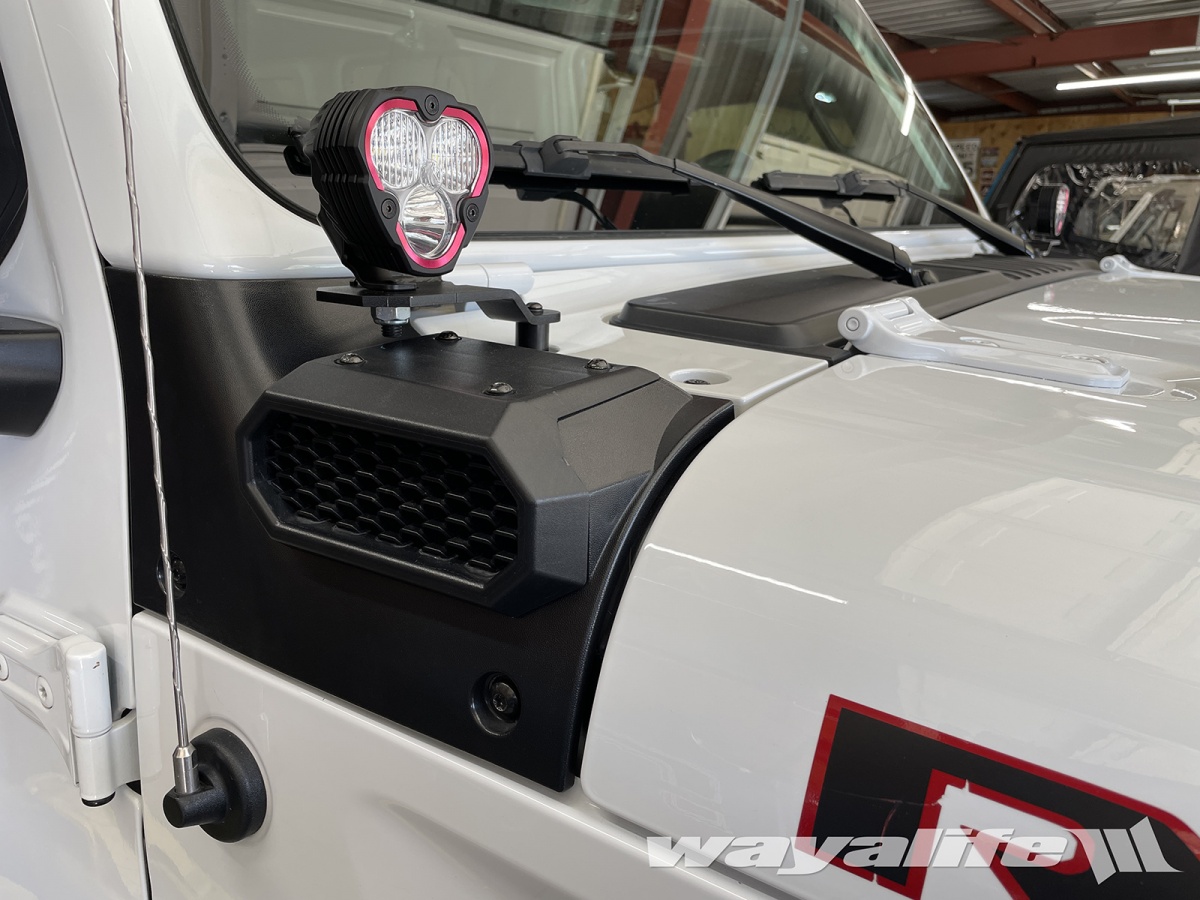
Ever since they first came out, I've been wanting to get my hands on a set of KC Flex ERA 3 lights as I love how they look, love how much light they put out and love the fact that they come in such a small package. For me, this makes them prefect for use as A-Pillar lights. In this write-up, you'll get to see just how easy they are to install on a Jeep JL Wrangler or JT Gladiator, especially if you use a set of KC A-pillar light mounts. I should note that I was even able to make everything work even with the Rugged Ridge AmFib snorkel that I have installed or at least, with the low cowl intake anyway.
KC Flex ERA 3 LED Lights: https://amzn.to/3faPxOY
KC JL Wrangler / JT Gladiator A-Pillar Mounts: https://amzn.to/2Q61axZ
KC ERA 3 Red Bezel: https://amzn.to/3hgGQp1
Switch Pros SP-9100 8-Switch System: https://amzn.to/2EmeUhW
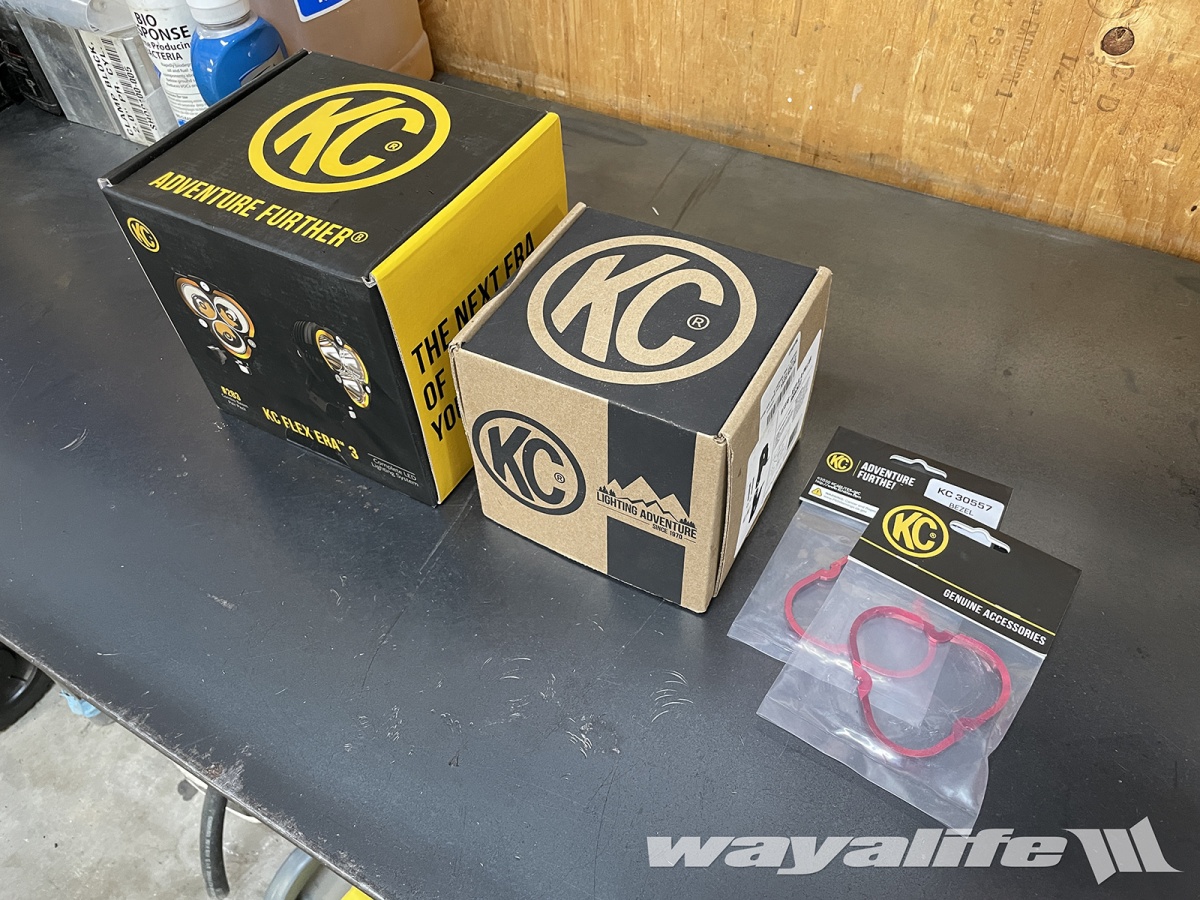
Here's a shot of everything that I bought - ERA 3 lights, KC A-Pillar light mounts and Red replacement rings.
INSTALLATION
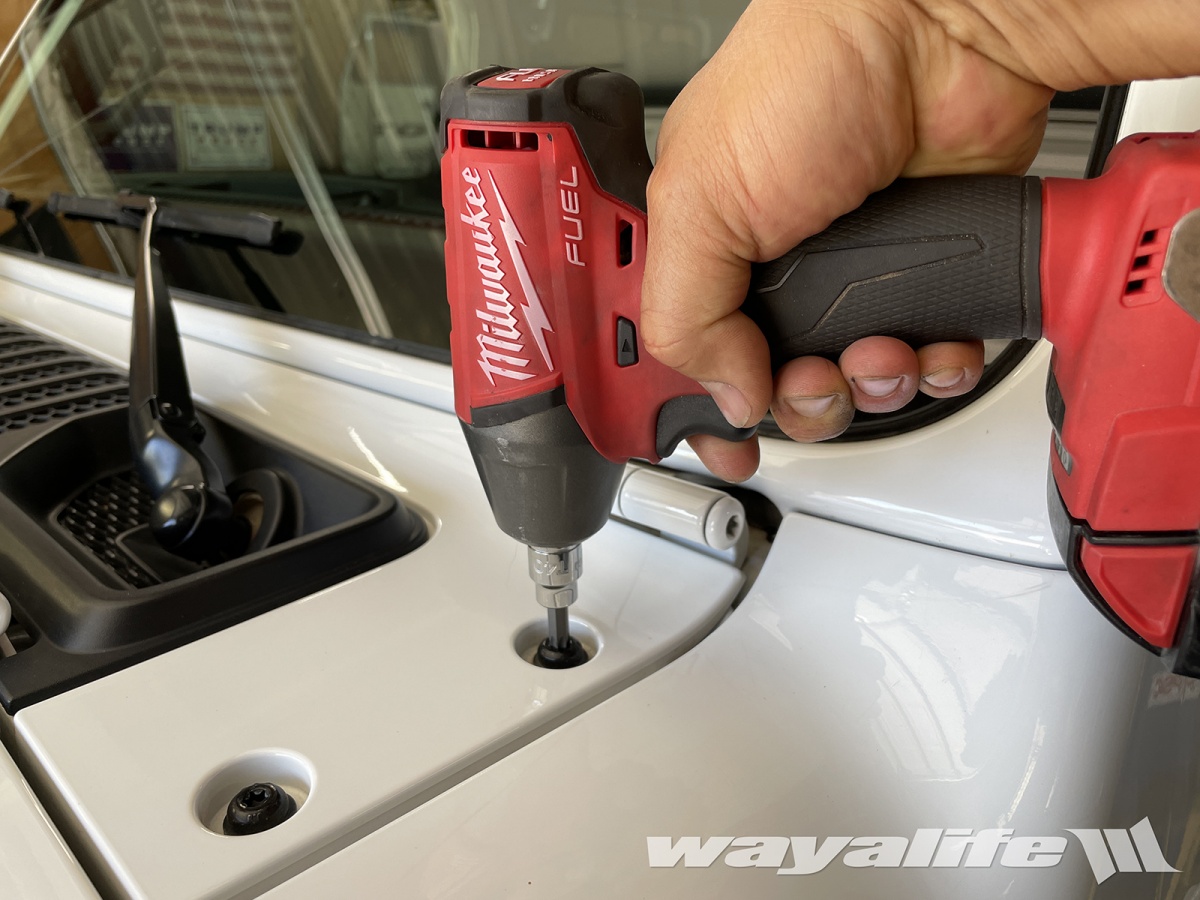
1. Using a Torx T-40 bit, remove the 2 bolts on top of the cowl securing the cover in place.
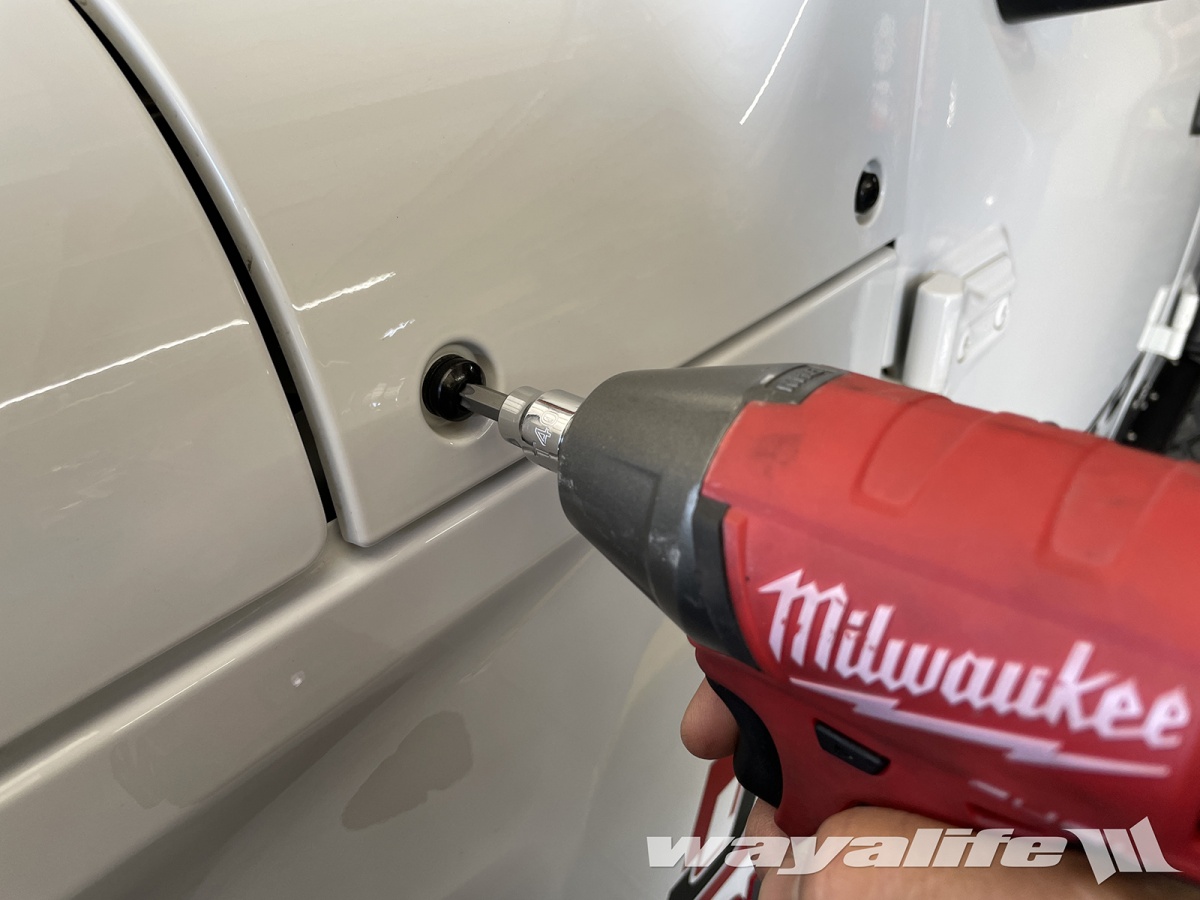
2. Again, using a Torx T-40 bit, remove the 2 bolts securing the cowl cover in place.
3. Using a Torx T-45 bit, remove the windshield hinge nut.

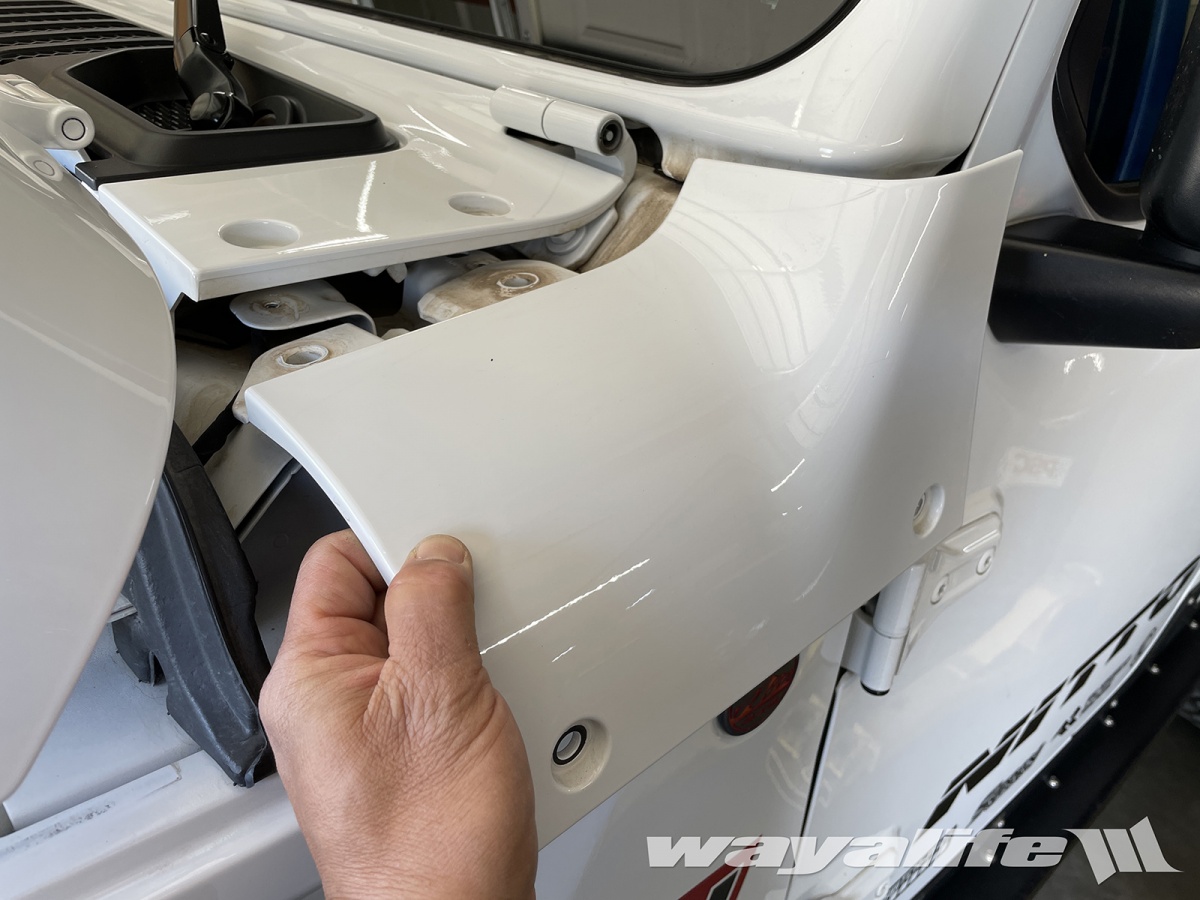
4. Open the hood of your Jeep and then carefully remove the cover panel from the cowl.
5. Place one of your new KC Flex ERA 3 lights, place it on top of the cowl and route the wiring harness so that it will be fed through the gap that exists between the cowl and cover panel.
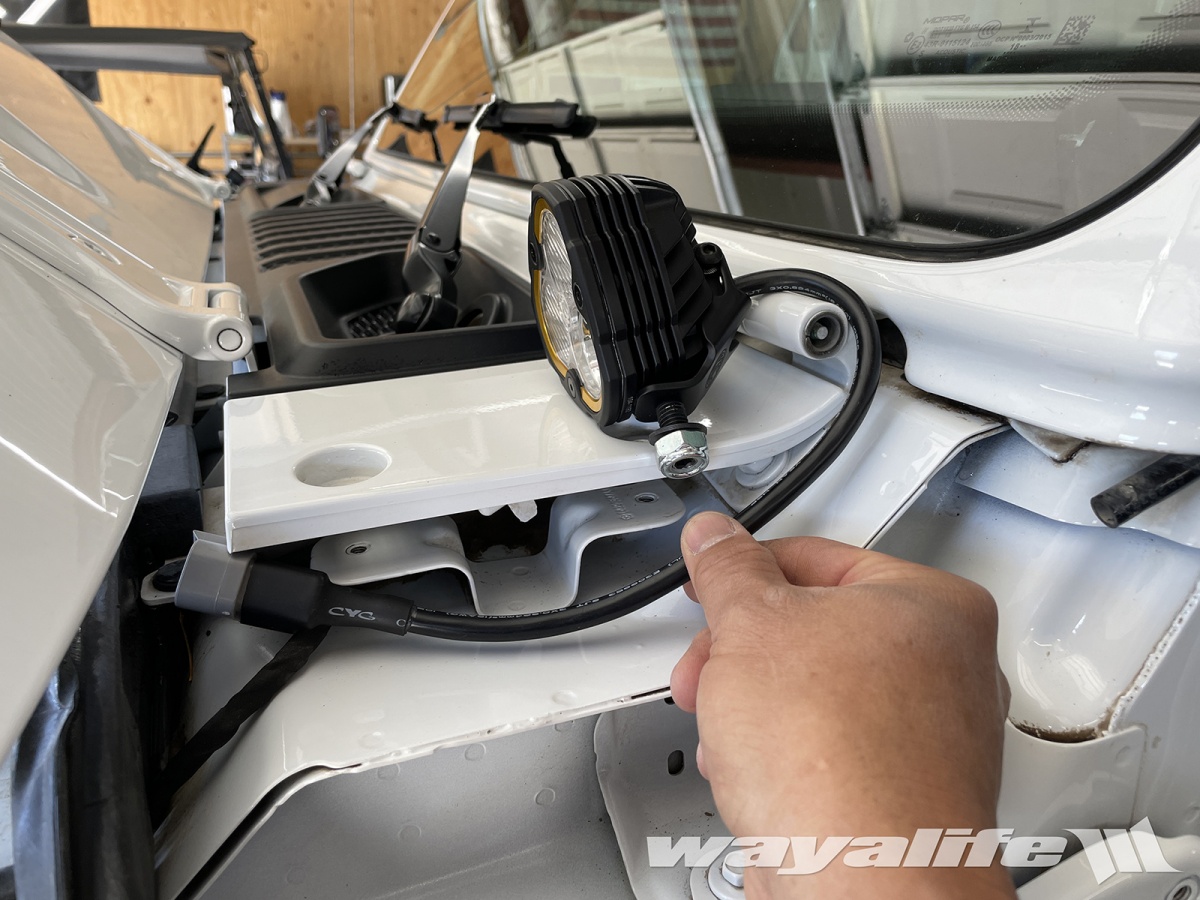
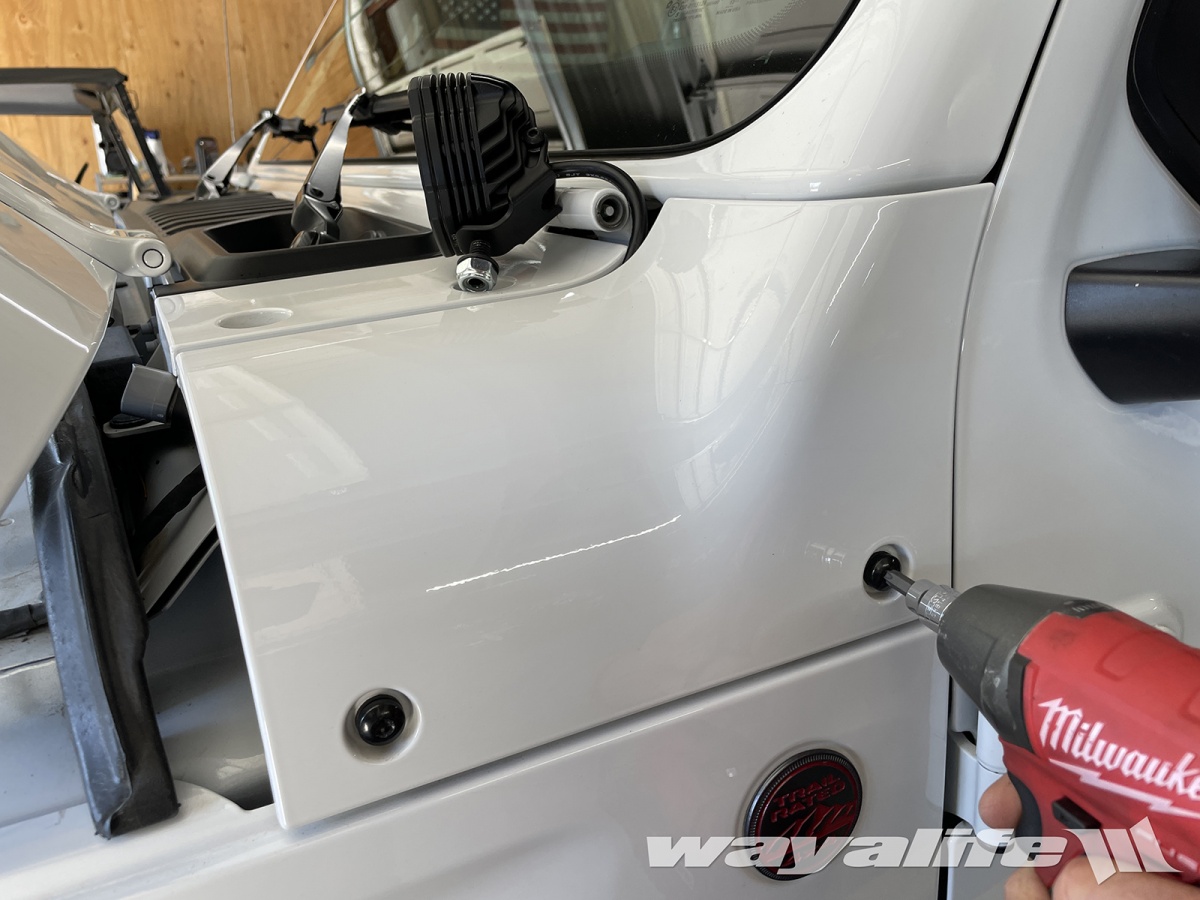
6. Reinstall the cover panel and secure it in place with the 2 factory side bolts. A Torx T-40 bit will be needed for this.
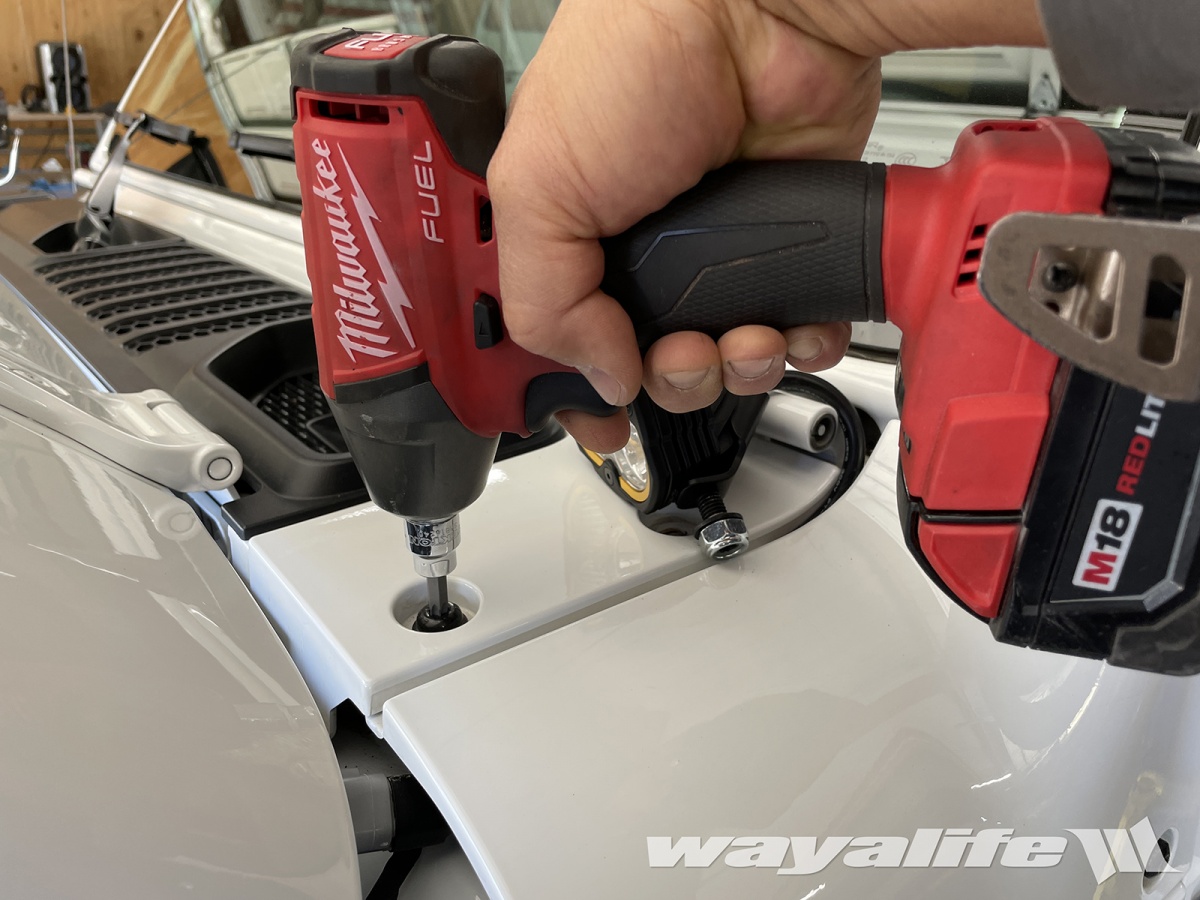
7. Reinstall just the forward most top cover panel bolt and secure it in place using a Torx T-40 bit.
8. Place the driver side KC A-Pillar light mount on top of the cowl and then loosely secure it to the windshield hinge using the factory hinge nut that you removed earlier.
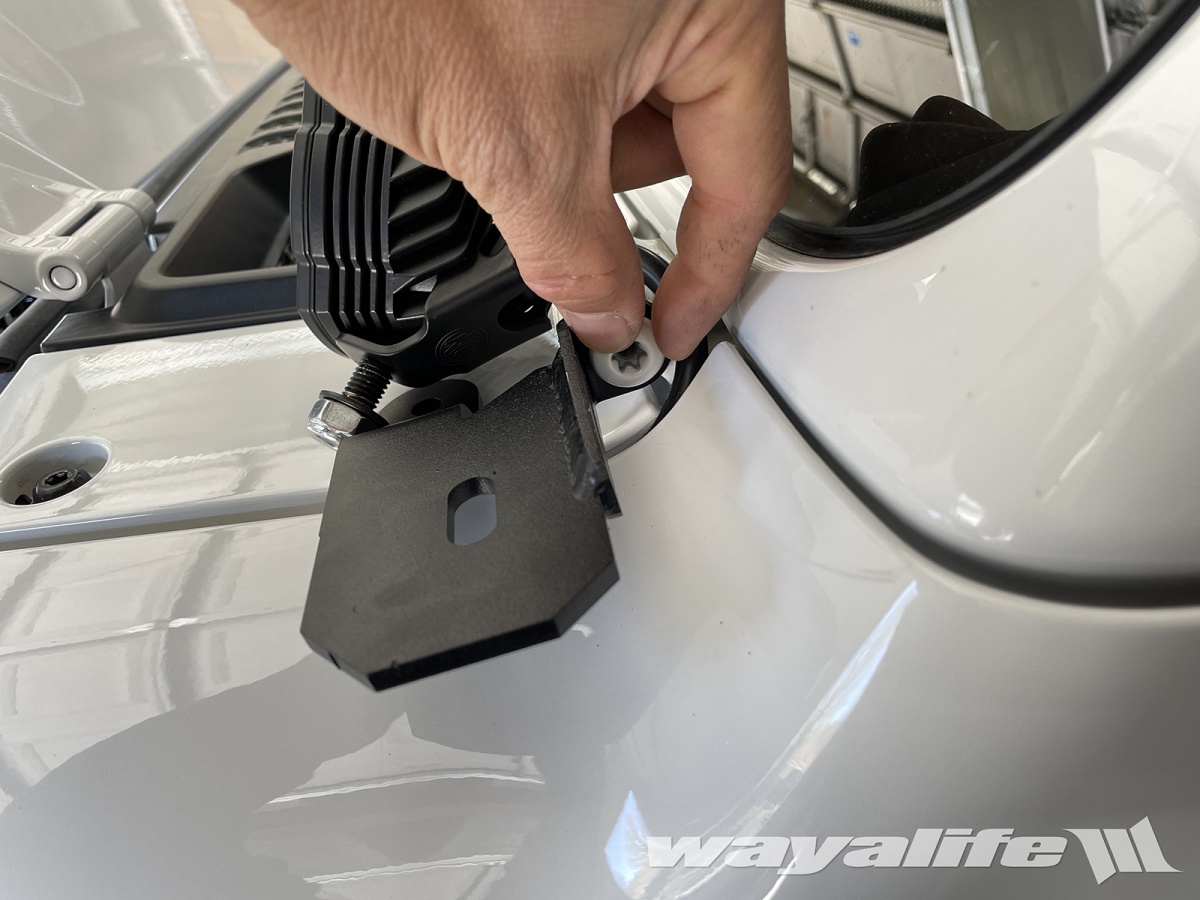
9. Place one of the spacers that comes with the KC A-Pillar mount kit on top of the rear cover panel mount hole.
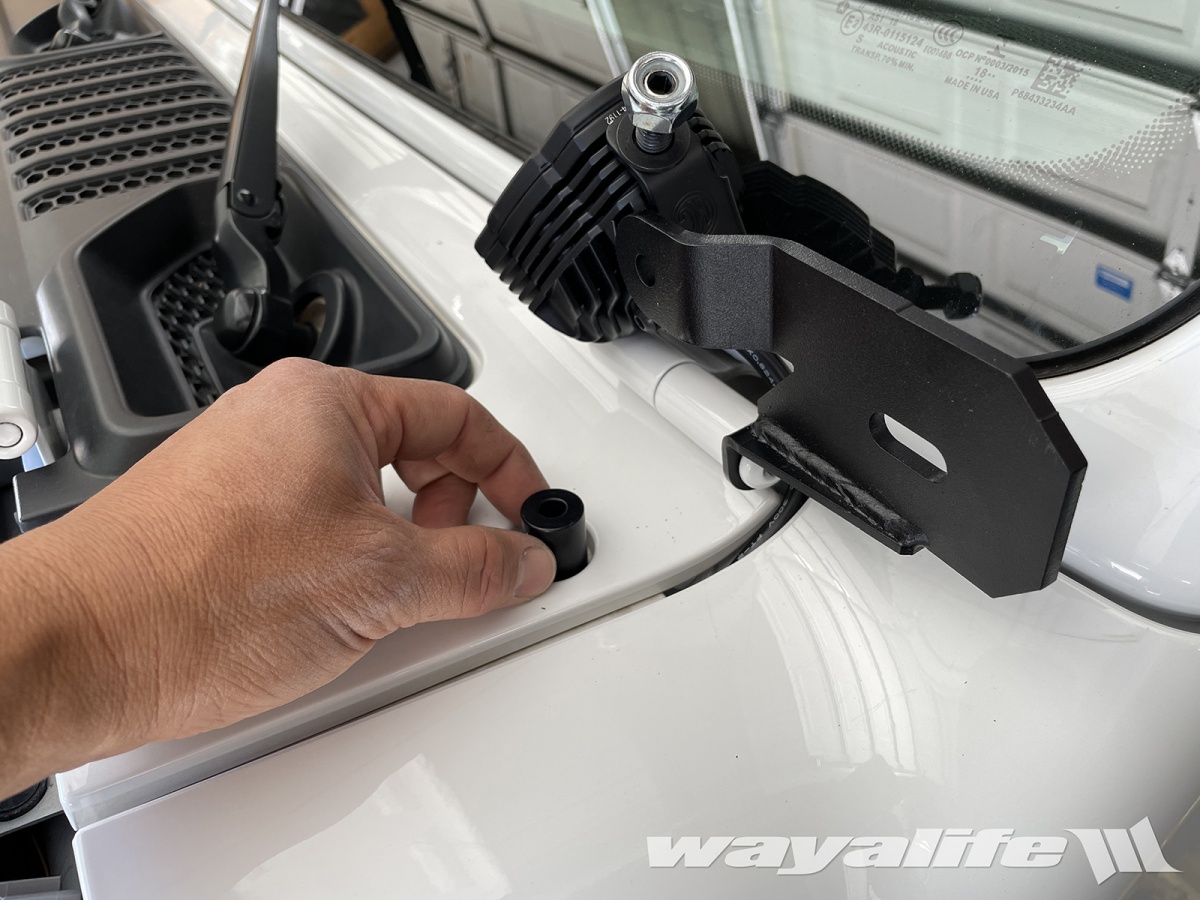
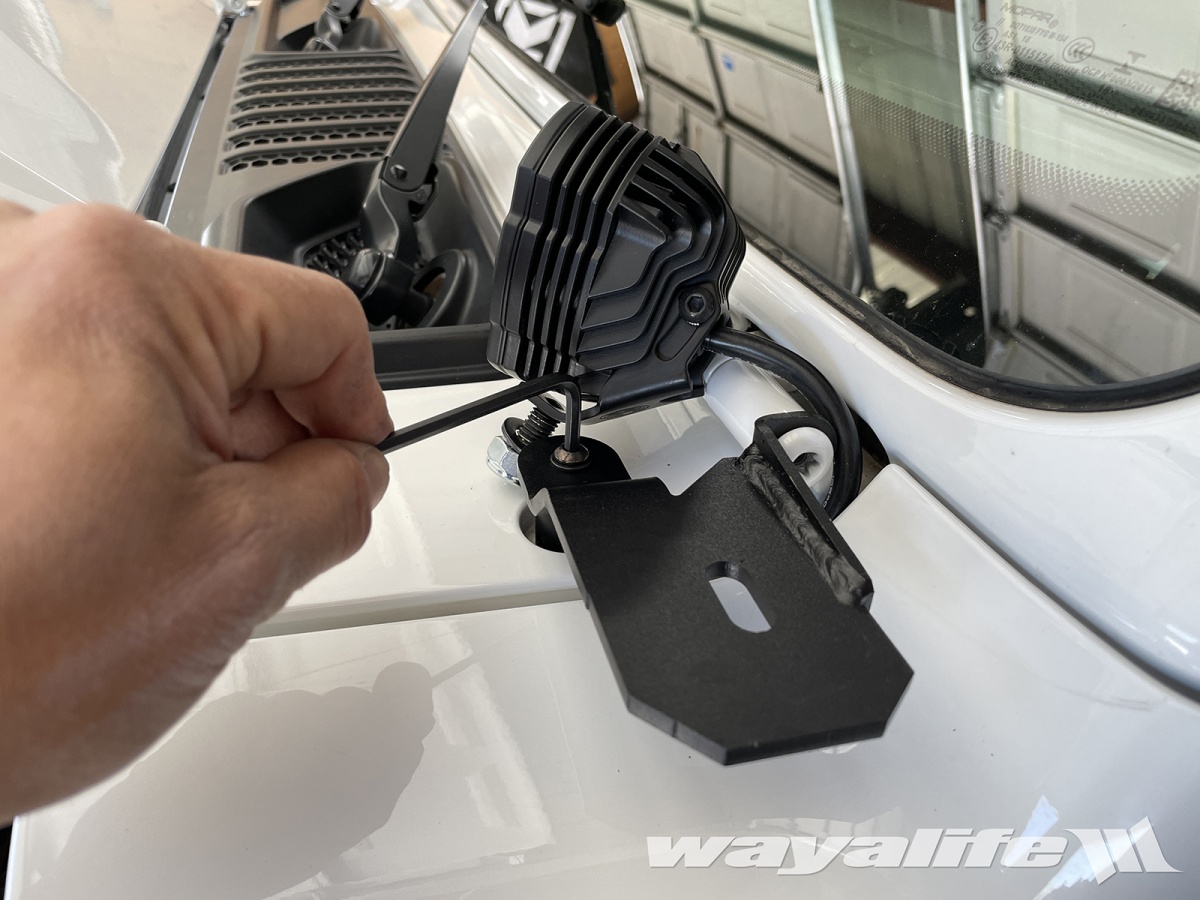
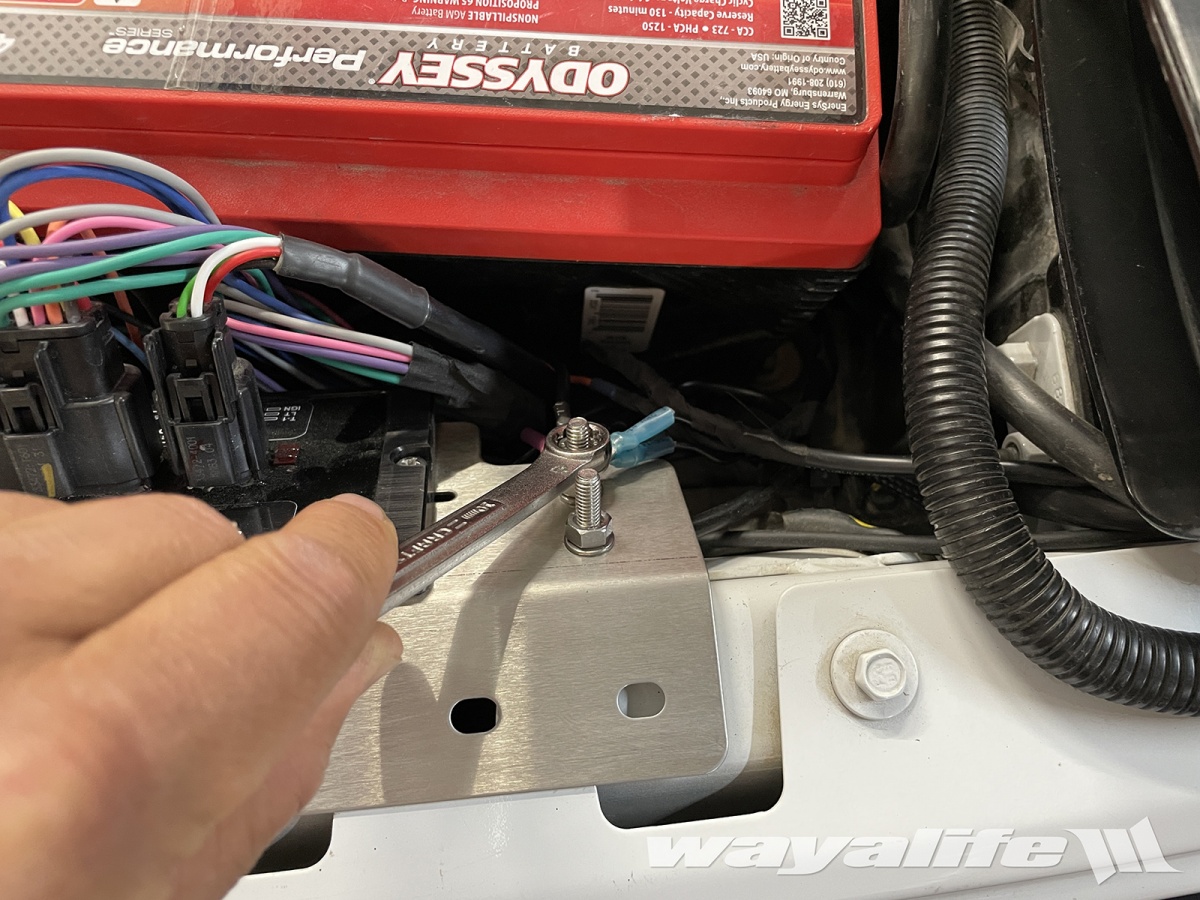
10. Secure the KC A-Pillar Mount to the cowl using one of the new washer and bolt provided with the kit. A 4mm allen wrench will be needed for this job.
11. Using a Torx T-45 bit, you can now tighten the windshield hinge nut in place.
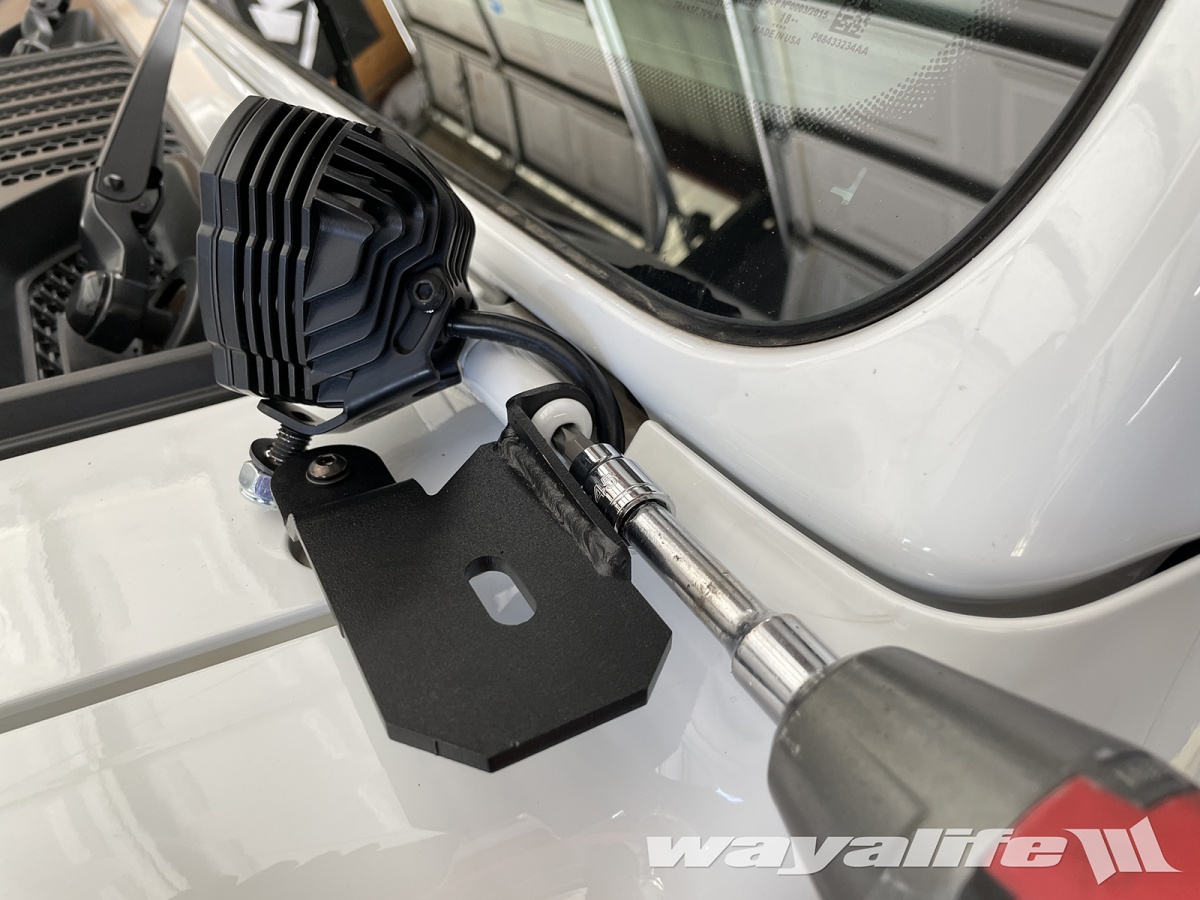
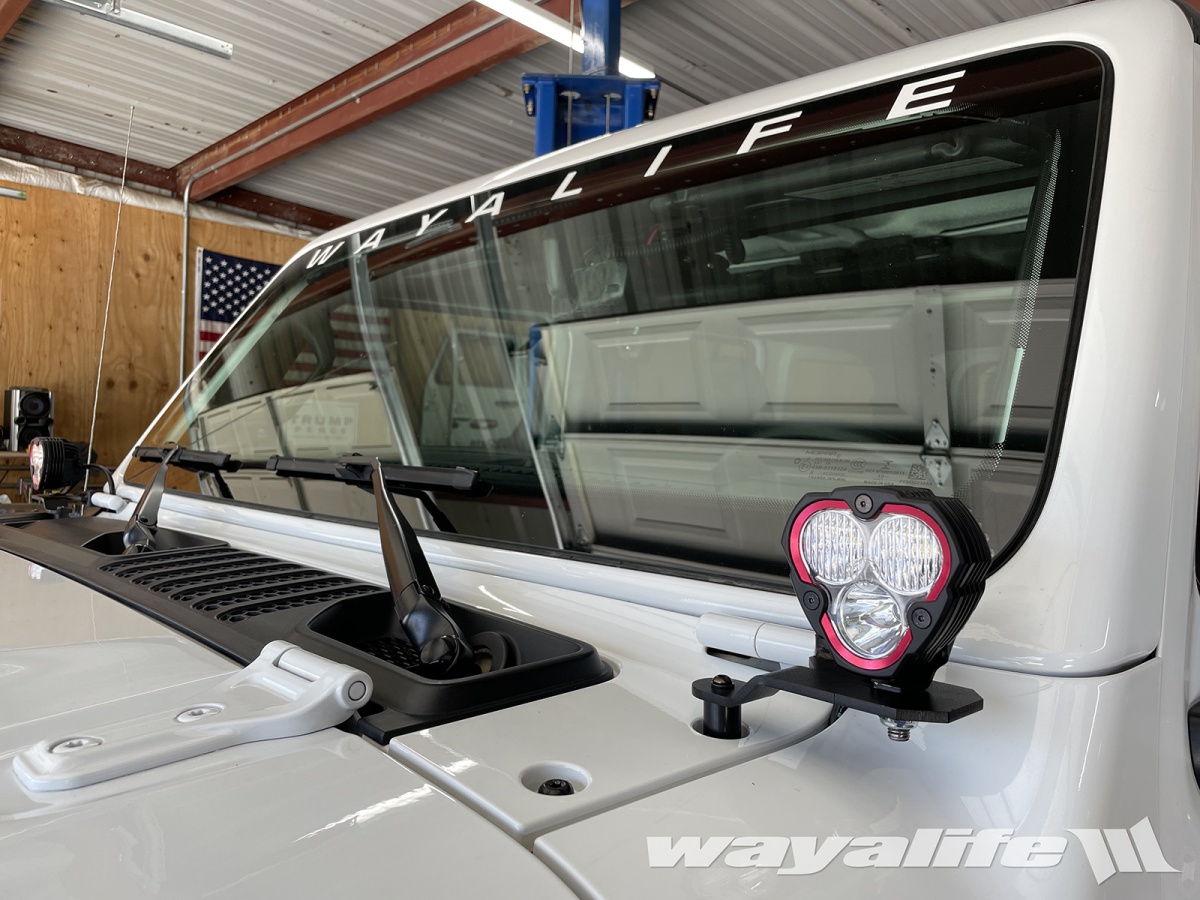
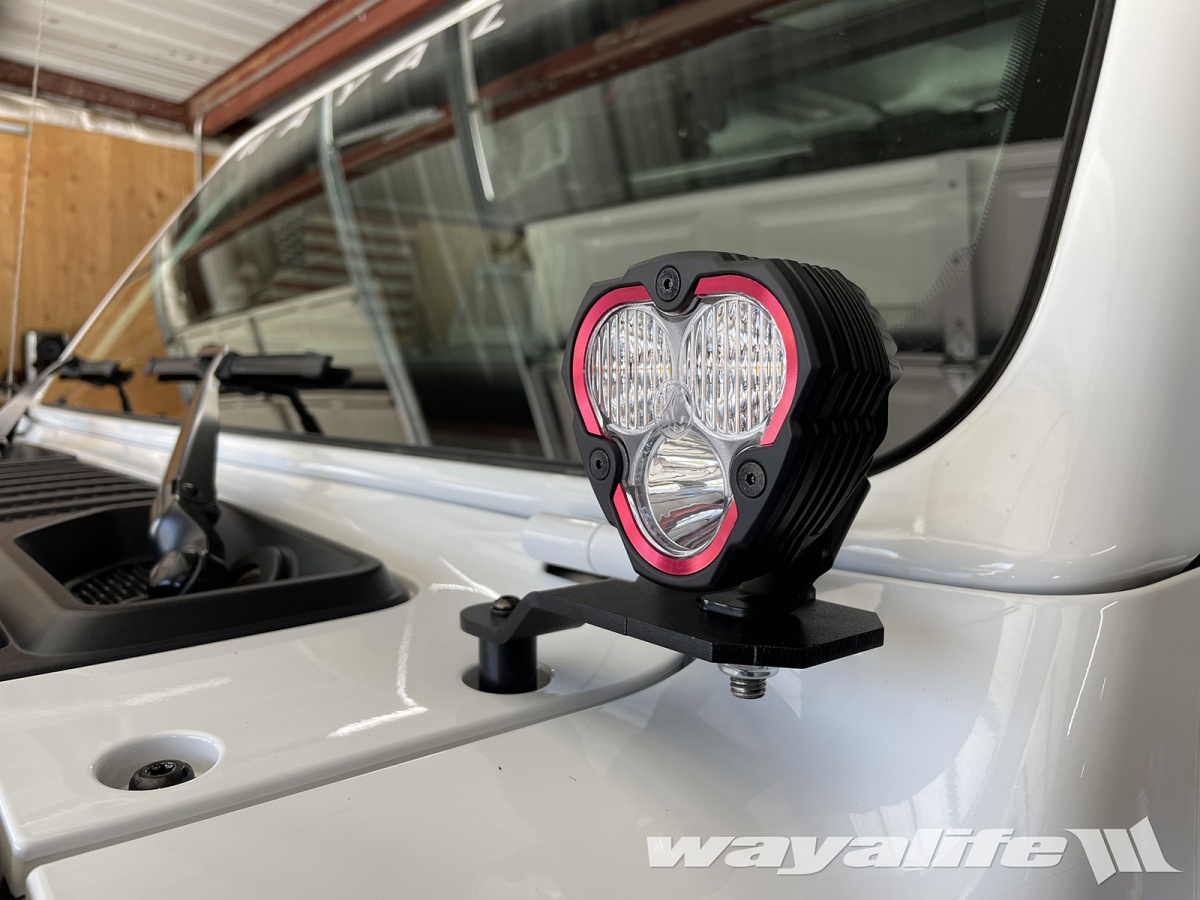
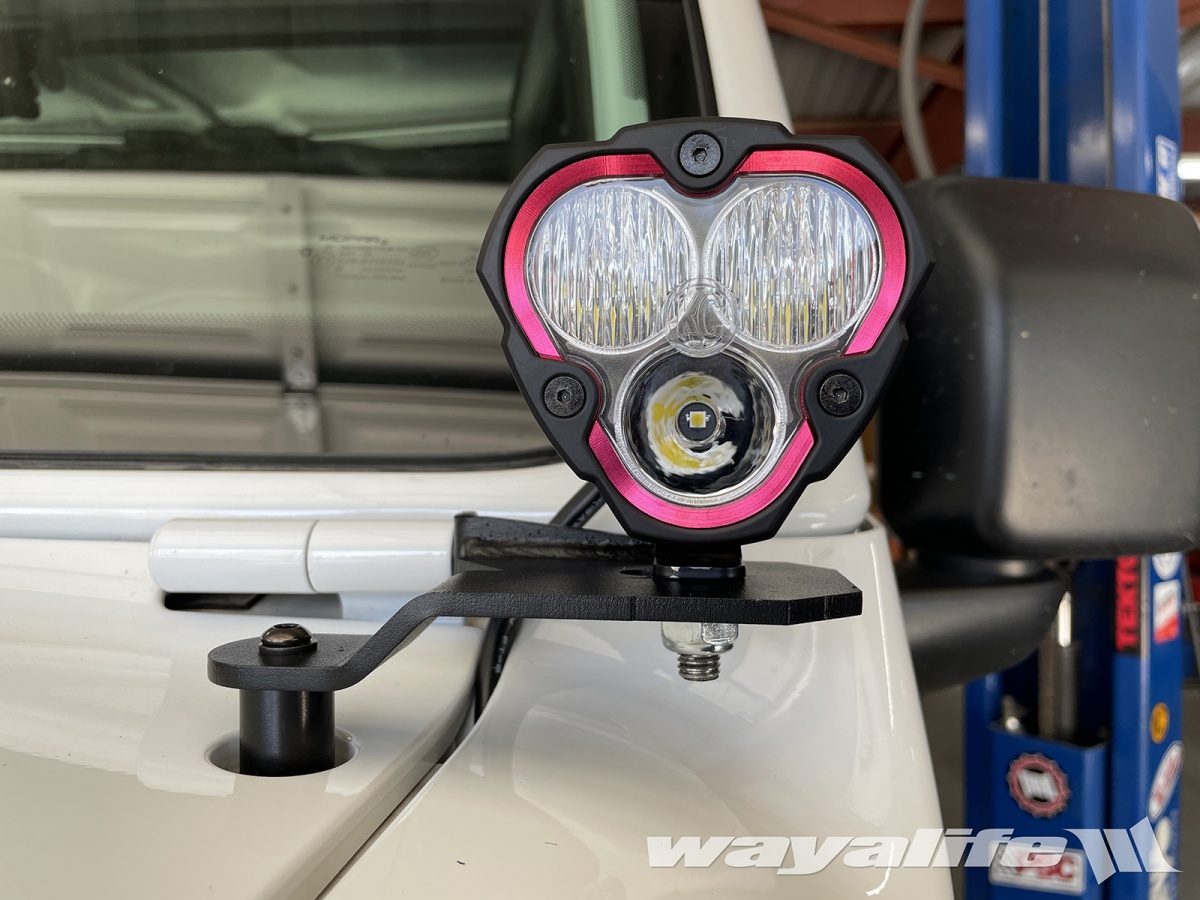
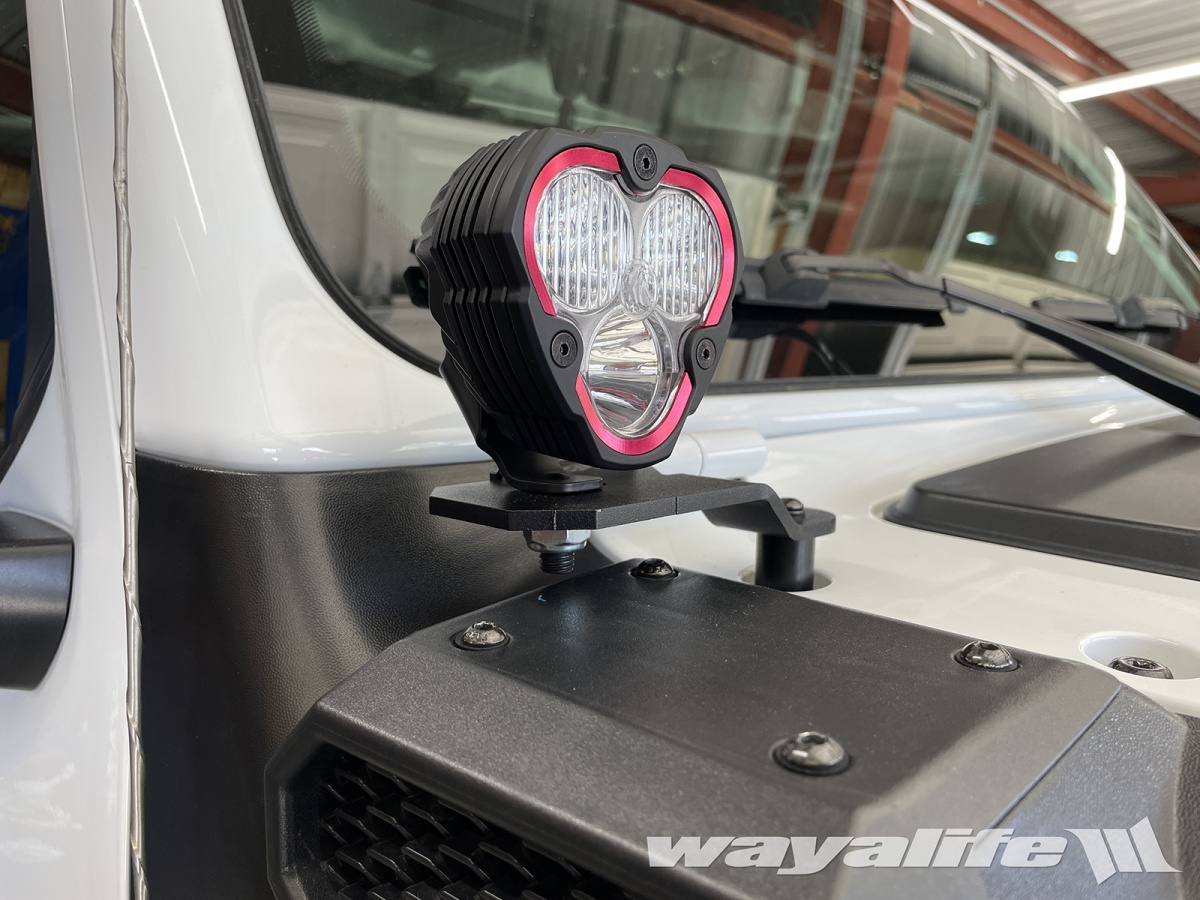
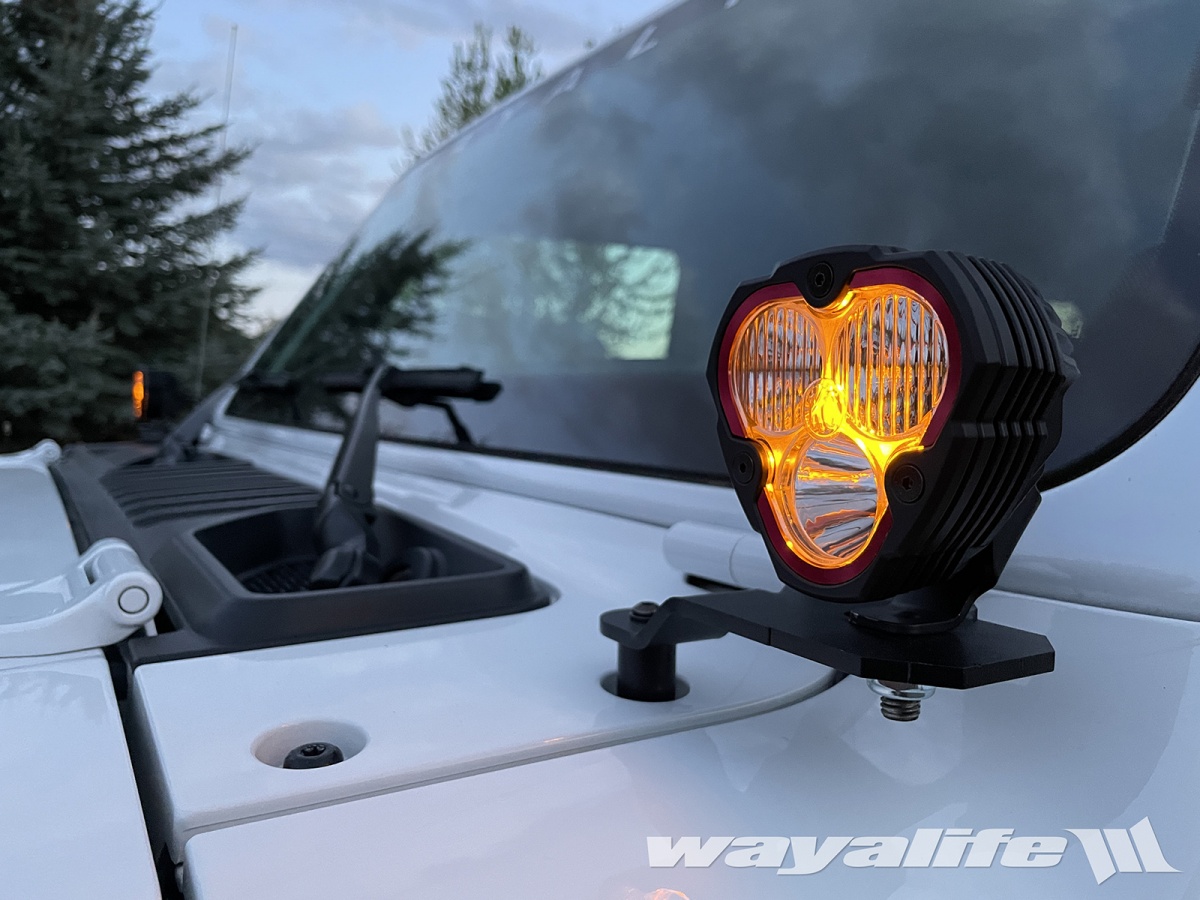
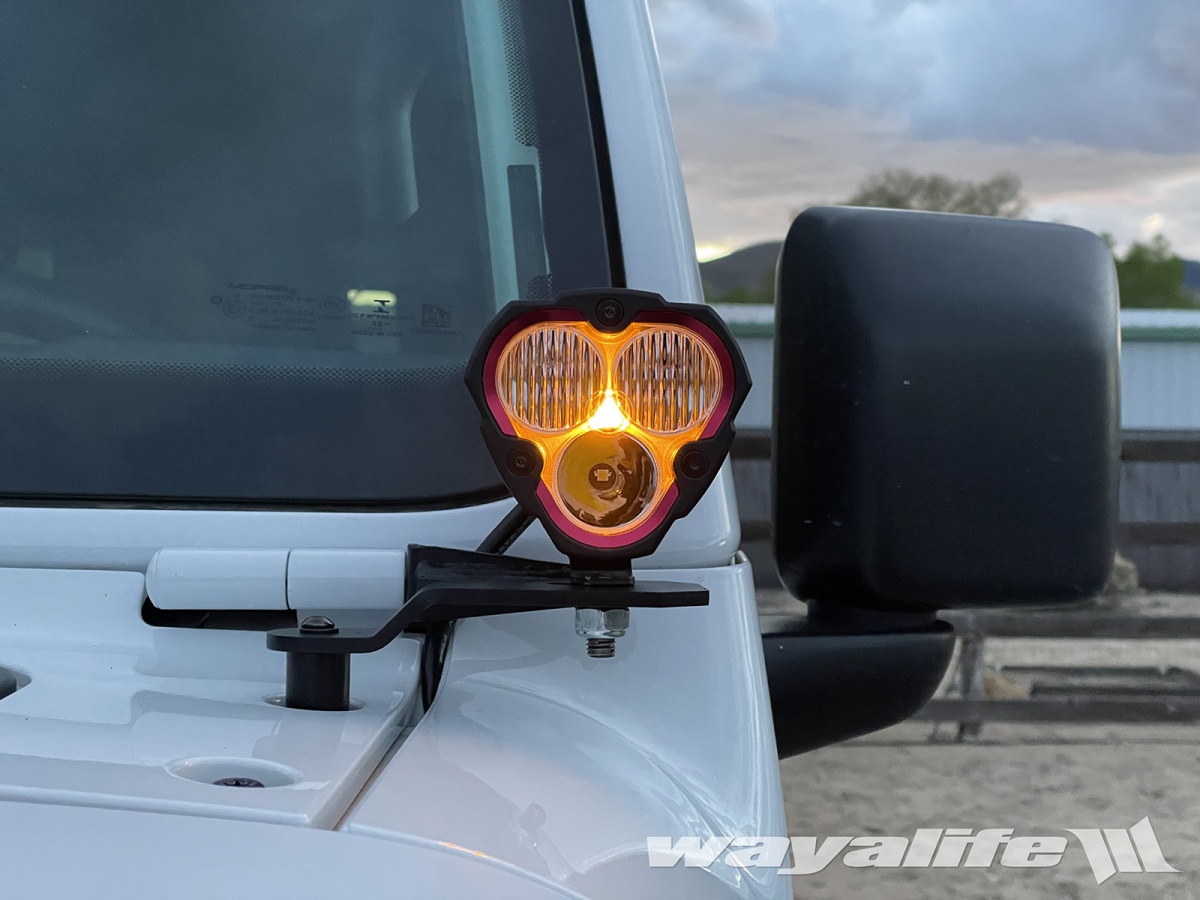
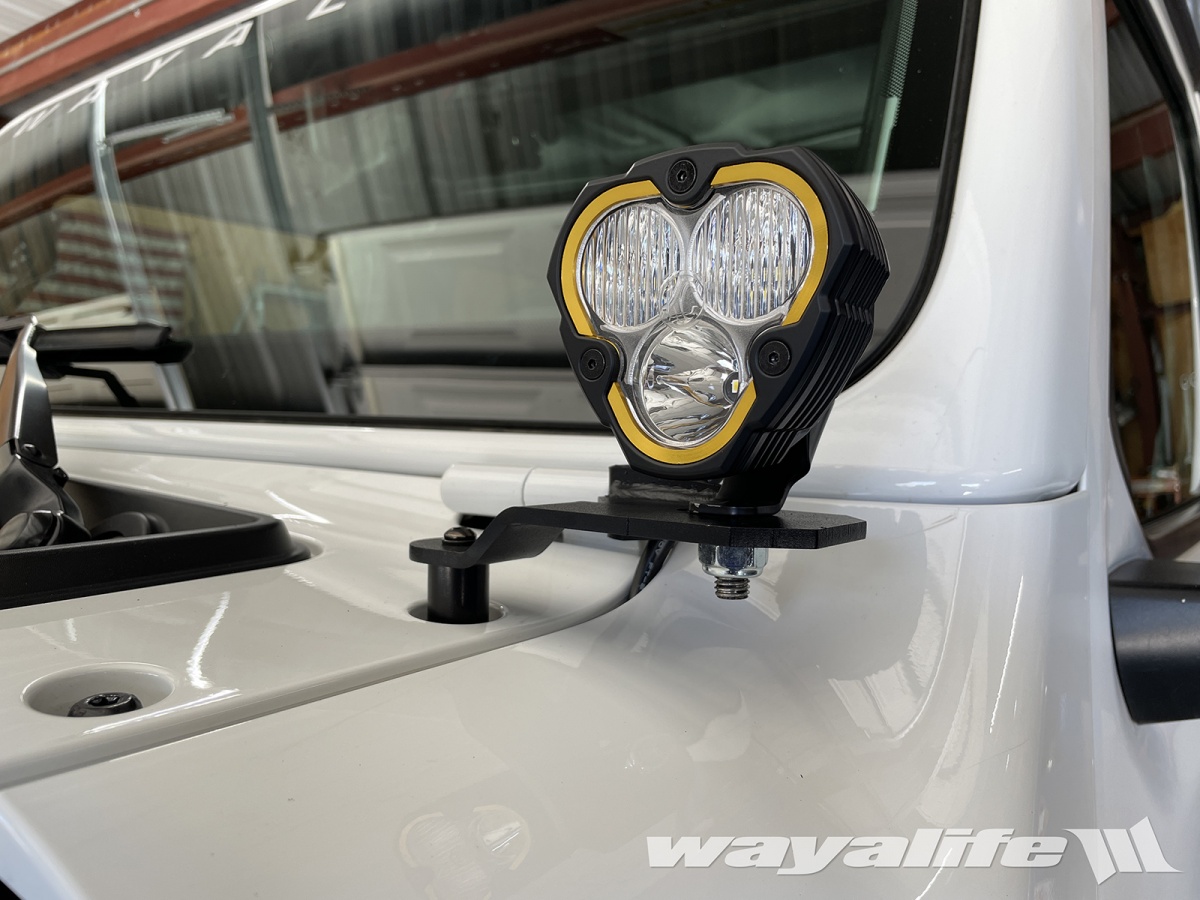
12. Place your KC Flex ERA 3 light on top of the A-Pillar mount and secure it in place using a 17mm wrench.
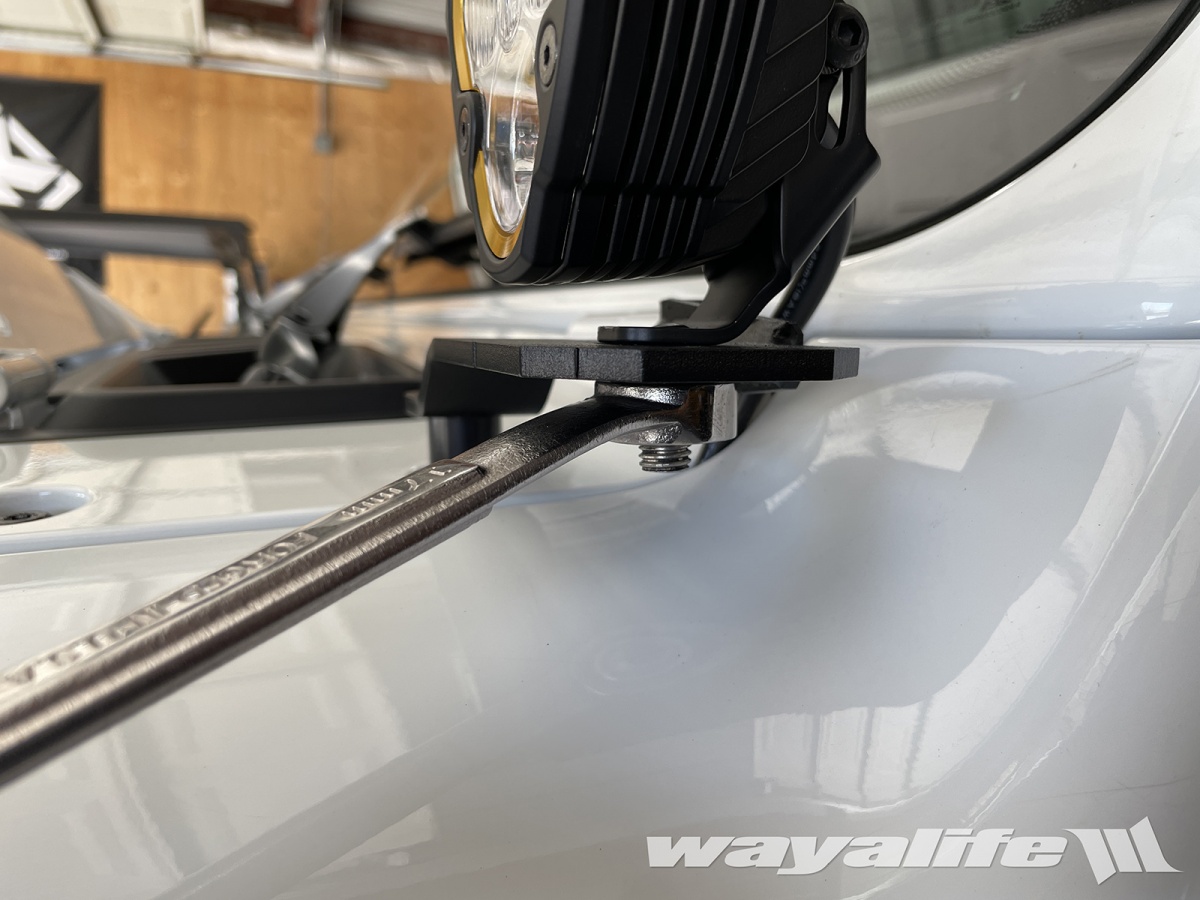
13. This is what everything should look like when done. From here, repeat steps 1-12 on the passenger side of your Jeep.
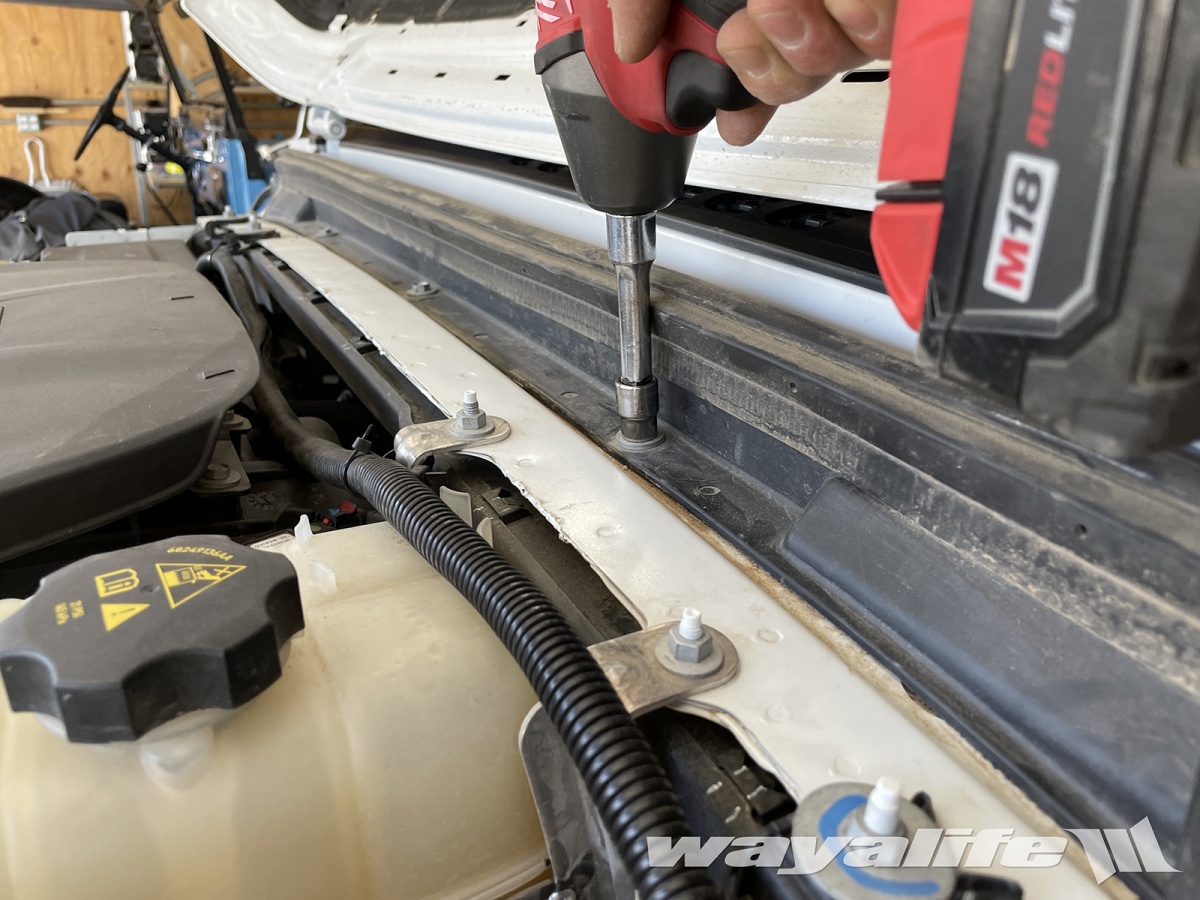
14. Using a 10mm socket, remove the 5 bolts securing the cowl seal in place.
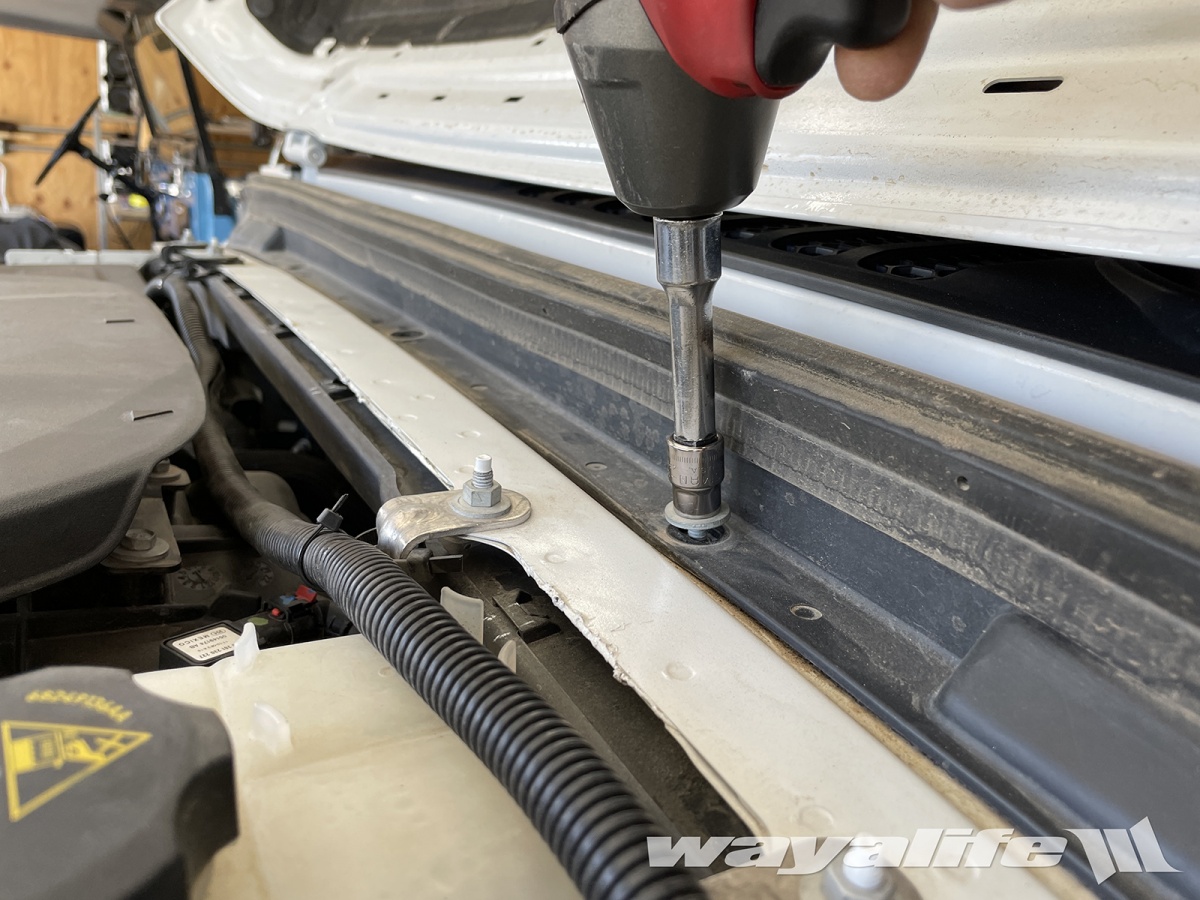
15. Using a trim pry tool, pull up the 2 plastic trim tabs securing the ends of the seal in place. It should be noted that the trim tabs are located beneath the square indentations that you see in the photo below.
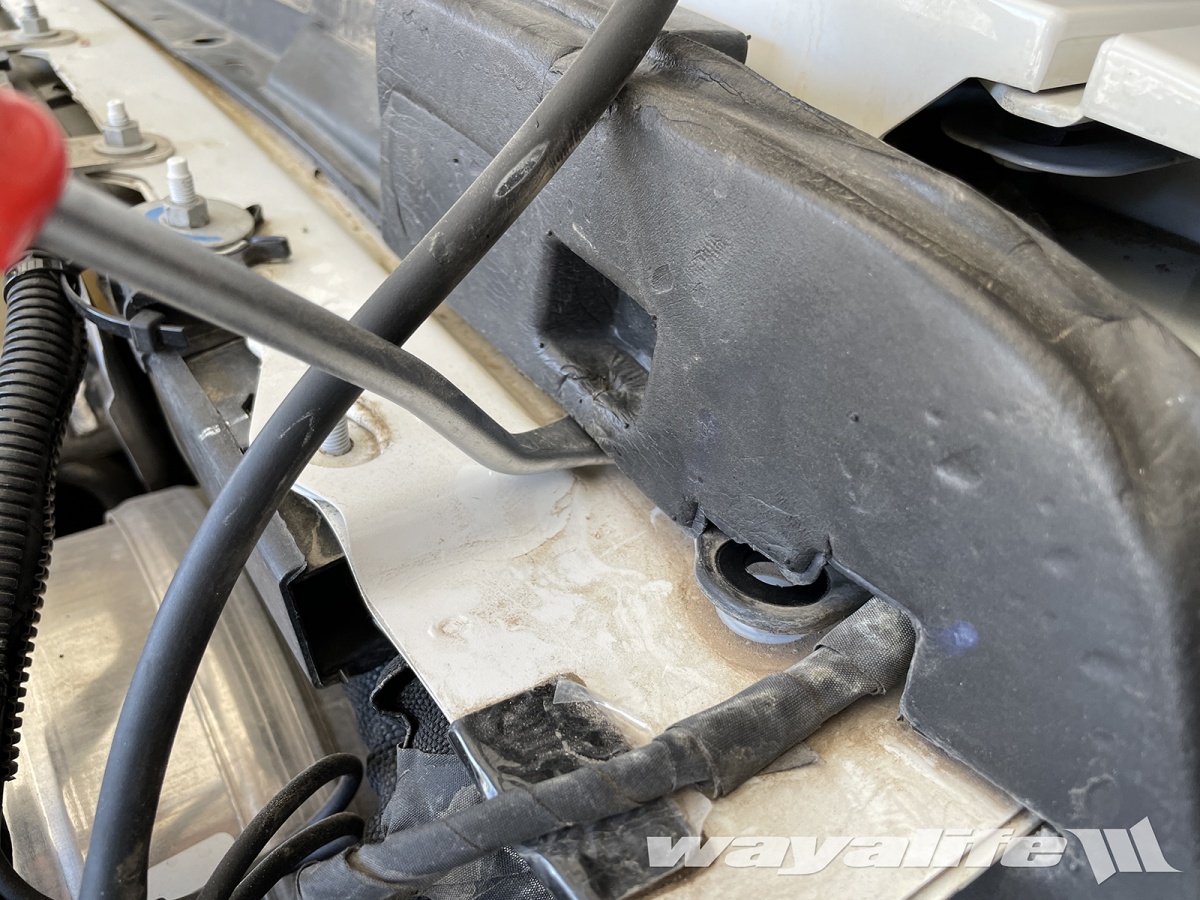
16. Starting from the passenger side of your Jeep, lift up the cowl seal and route one of the two lengths of the wiring harness that terminates in a triangular shaped plug, back behind the seal and until it comes out the driver side.

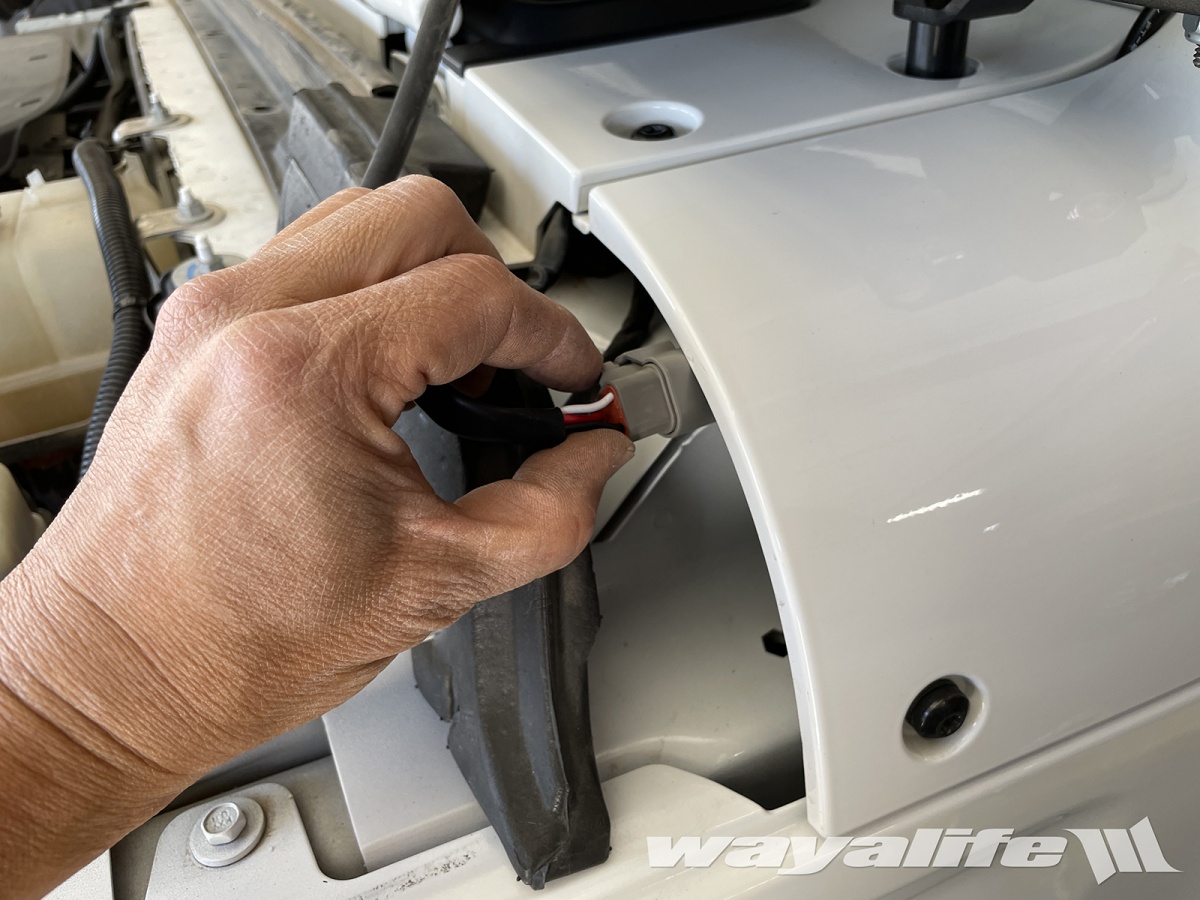
17. Plug the KC Flex ERA 3 into the wiring harness.
18. Secure the cowl seal back in place by reinstalling the trim tabs and using the factory bolts. A 10mm socket will be needed for this job.
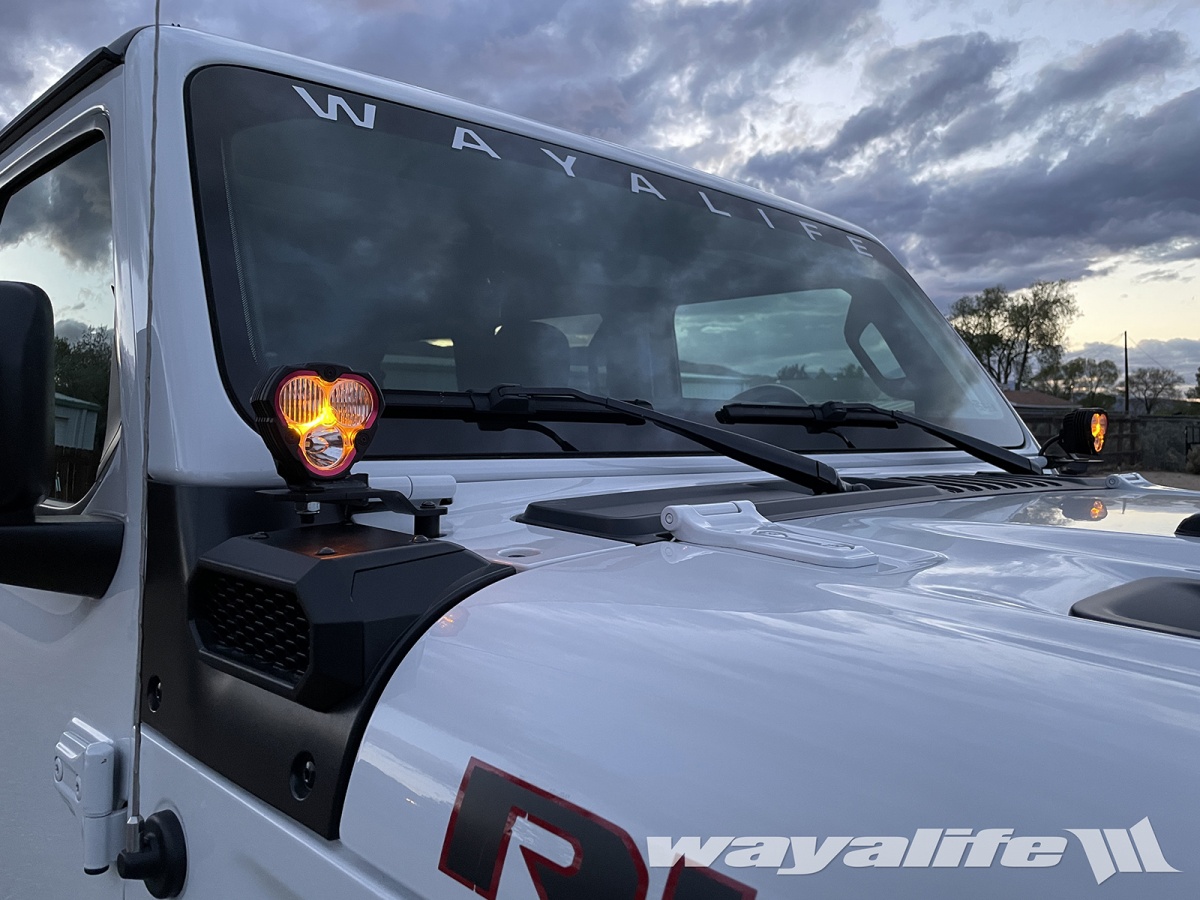
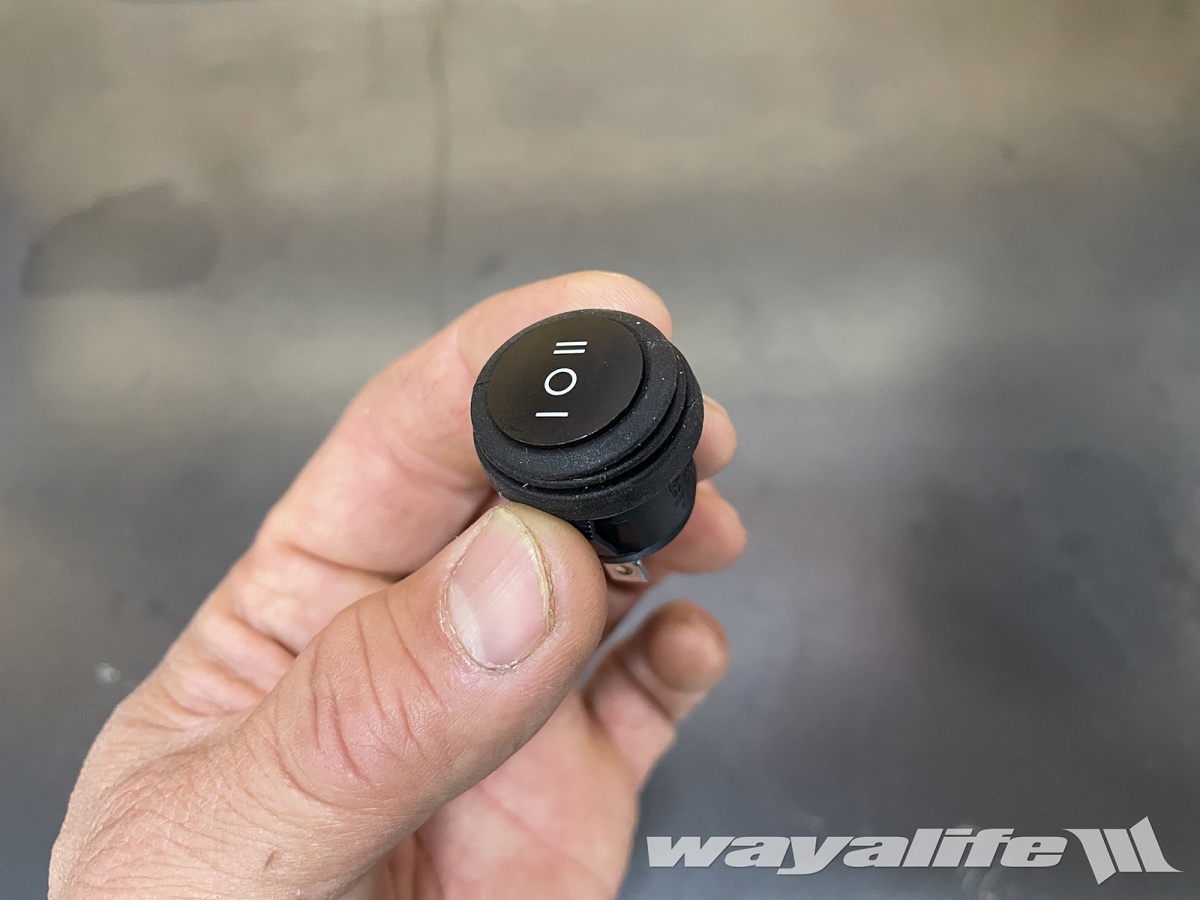
19. The KC Flex ERA 3 lights that I bought came as a pair and complete with a ton of wiring, a relay, fuses and an in cab switch that would be needed to complete the install. In fact, the provided switch even has 2 different ON settings - one for the main lights and another for just the amber back glow.
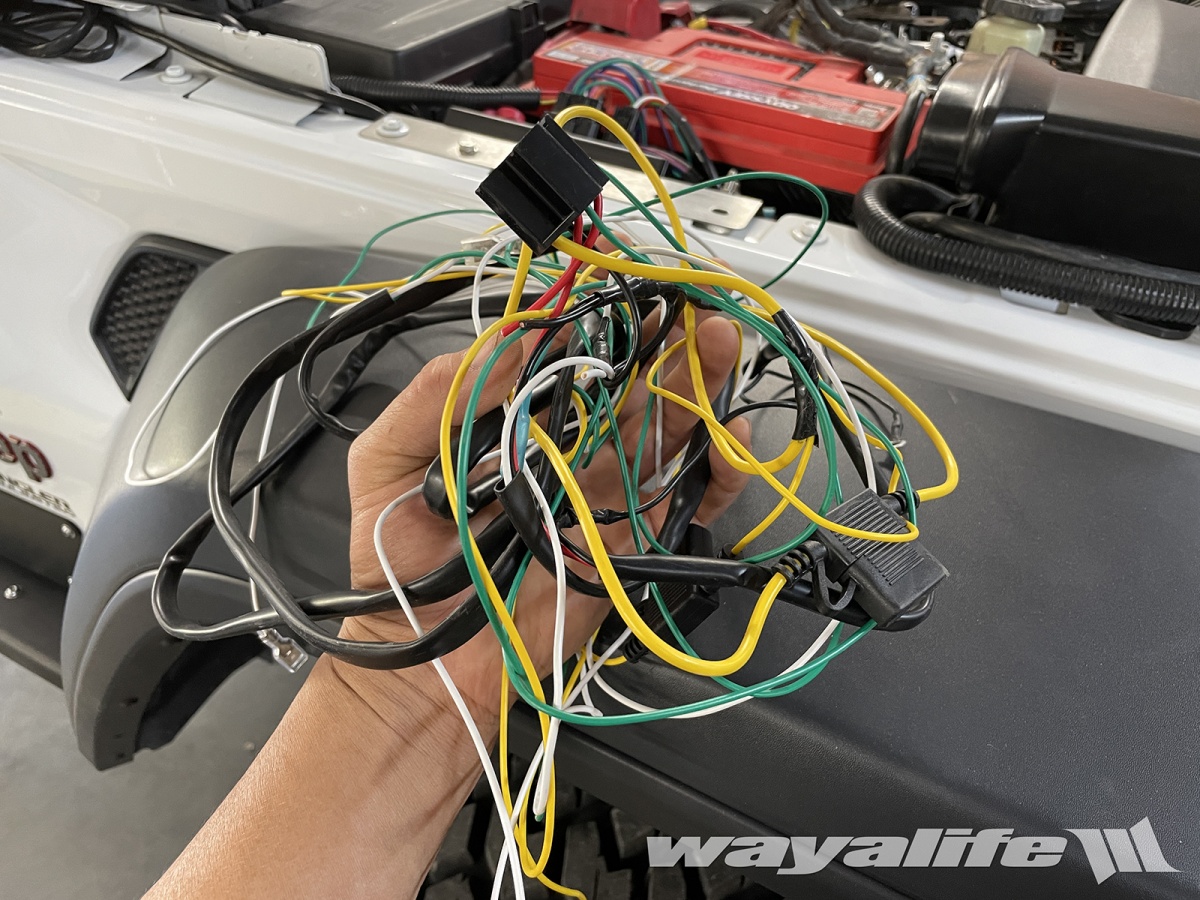
If you're planning on connecting these lights to the Jeep auxiliary switches or to something like a Switch Pros switch system, the only wires you will need are the WHITE, BLACK and RED ones that are connected to the lights. The rest of the wiring can be cut off and discarded.
20. Pair the remaining wires by color and join them together using a butt connector.

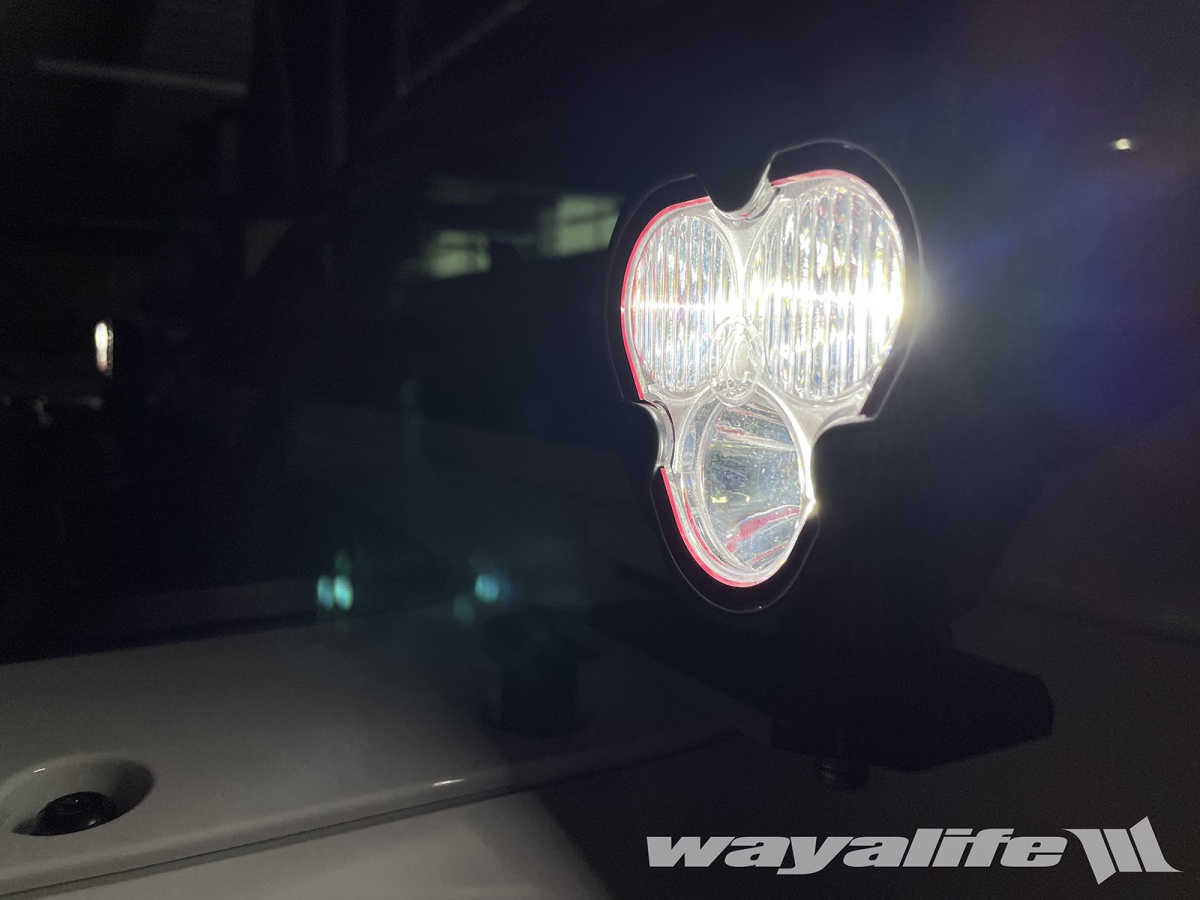
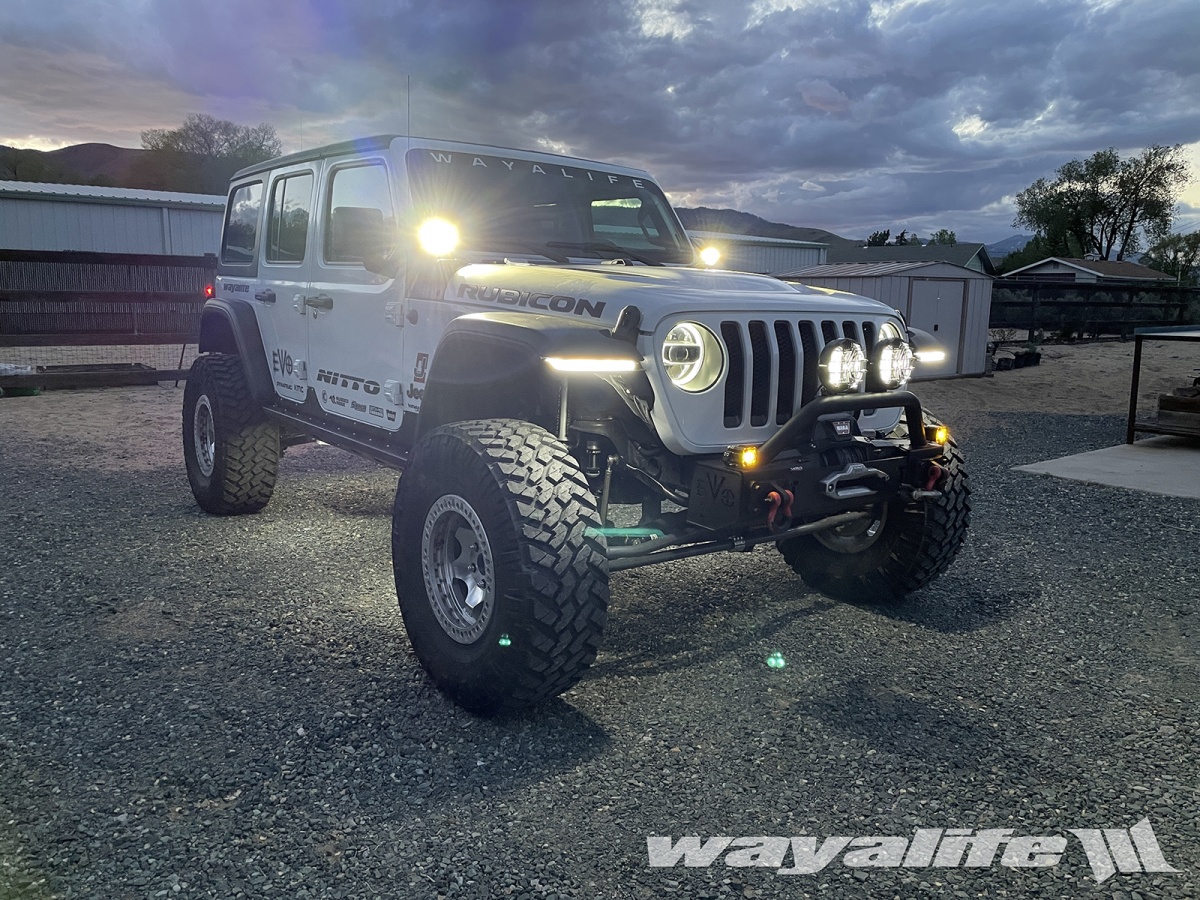
20. The WHITE wires control the amber back glow and the RED wires control the main lights. I don't think KC intended the amber back glow light and the main light to be on at the same time so I connected them to 2 separate switches on my Switch Pros.
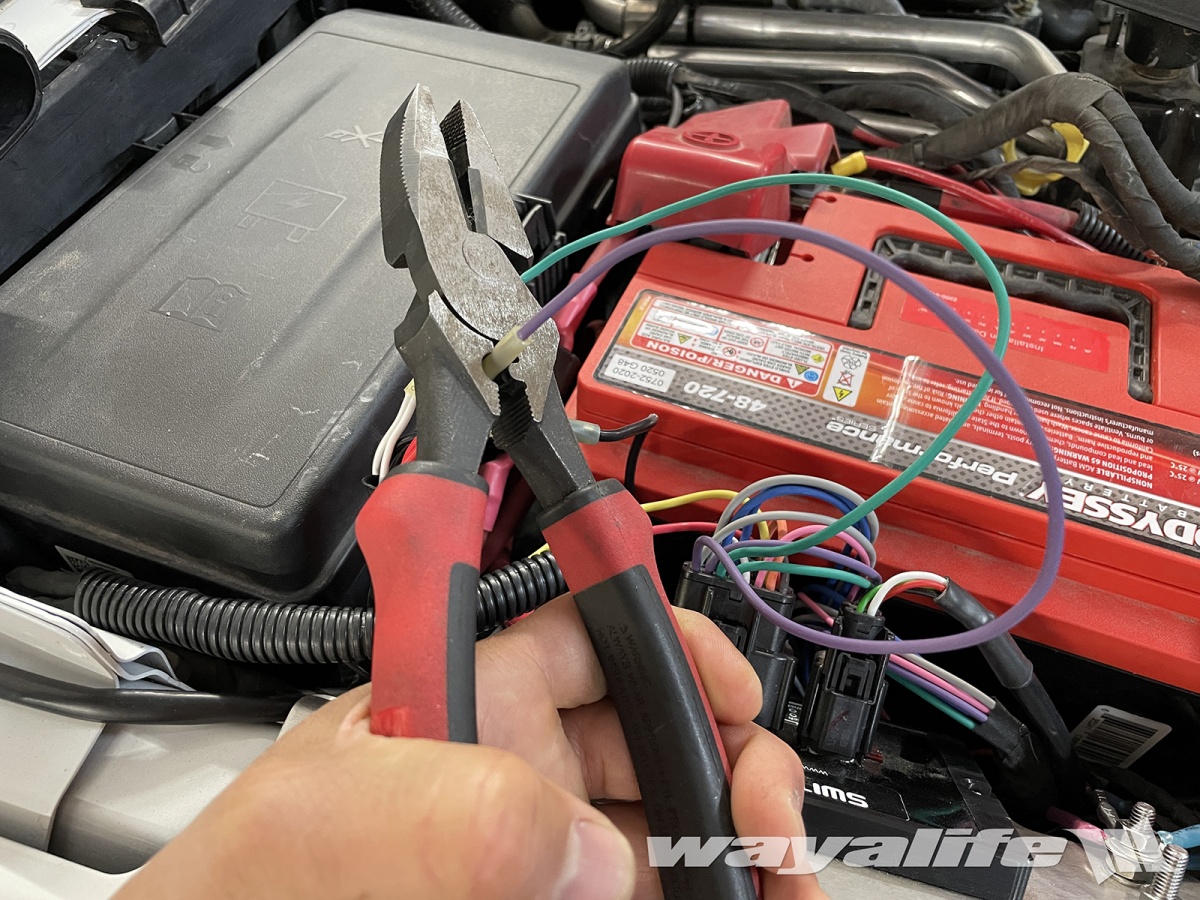
21. Finally, the BLACK wires need to be connected to a ground stud.
KC Flex ERA 3 LED Lights: https://amzn.to/3faPxOY
KC JL Wrangler / JT Gladiator A-Pillar Mounts: https://amzn.to/2Q61axZ
KC ERA 3 Red Bezel: https://amzn.to/3hgGQp1
Switch Pros SP-9100 8-Switch System: https://amzn.to/2EmeUhW
Here's a shot of everything that I bought - ERA 3 lights, KC A-Pillar light mounts and Red replacement rings.
INSTALLATION
1. Using a Torx T-40 bit, remove the 2 bolts on top of the cowl securing the cover in place.
2. Again, using a Torx T-40 bit, remove the 2 bolts securing the cowl cover in place.
3. Using a Torx T-45 bit, remove the windshield hinge nut.
4. Open the hood of your Jeep and then carefully remove the cover panel from the cowl.
5. Place one of your new KC Flex ERA 3 lights, place it on top of the cowl and route the wiring harness so that it will be fed through the gap that exists between the cowl and cover panel.
6. Reinstall the cover panel and secure it in place with the 2 factory side bolts. A Torx T-40 bit will be needed for this.
7. Reinstall just the forward most top cover panel bolt and secure it in place using a Torx T-40 bit.
8. Place the driver side KC A-Pillar light mount on top of the cowl and then loosely secure it to the windshield hinge using the factory hinge nut that you removed earlier.
9. Place one of the spacers that comes with the KC A-Pillar mount kit on top of the rear cover panel mount hole.
10. Secure the KC A-Pillar Mount to the cowl using one of the new washer and bolt provided with the kit. A 4mm allen wrench will be needed for this job.
11. Using a Torx T-45 bit, you can now tighten the windshield hinge nut in place.
12. Place your KC Flex ERA 3 light on top of the A-Pillar mount and secure it in place using a 17mm wrench.
13. This is what everything should look like when done. From here, repeat steps 1-12 on the passenger side of your Jeep.
14. Using a 10mm socket, remove the 5 bolts securing the cowl seal in place.
15. Using a trim pry tool, pull up the 2 plastic trim tabs securing the ends of the seal in place. It should be noted that the trim tabs are located beneath the square indentations that you see in the photo below.
16. Starting from the passenger side of your Jeep, lift up the cowl seal and route one of the two lengths of the wiring harness that terminates in a triangular shaped plug, back behind the seal and until it comes out the driver side.
17. Plug the KC Flex ERA 3 into the wiring harness.
18. Secure the cowl seal back in place by reinstalling the trim tabs and using the factory bolts. A 10mm socket will be needed for this job.
19. The KC Flex ERA 3 lights that I bought came as a pair and complete with a ton of wiring, a relay, fuses and an in cab switch that would be needed to complete the install. In fact, the provided switch even has 2 different ON settings - one for the main lights and another for just the amber back glow.
If you're planning on connecting these lights to the Jeep auxiliary switches or to something like a Switch Pros switch system, the only wires you will need are the WHITE, BLACK and RED ones that are connected to the lights. The rest of the wiring can be cut off and discarded.
20. Pair the remaining wires by color and join them together using a butt connector.
20. The WHITE wires control the amber back glow and the RED wires control the main lights. I don't think KC intended the amber back glow light and the main light to be on at the same time so I connected them to 2 separate switches on my Switch Pros.
21. Finally, the BLACK wires need to be connected to a ground stud.